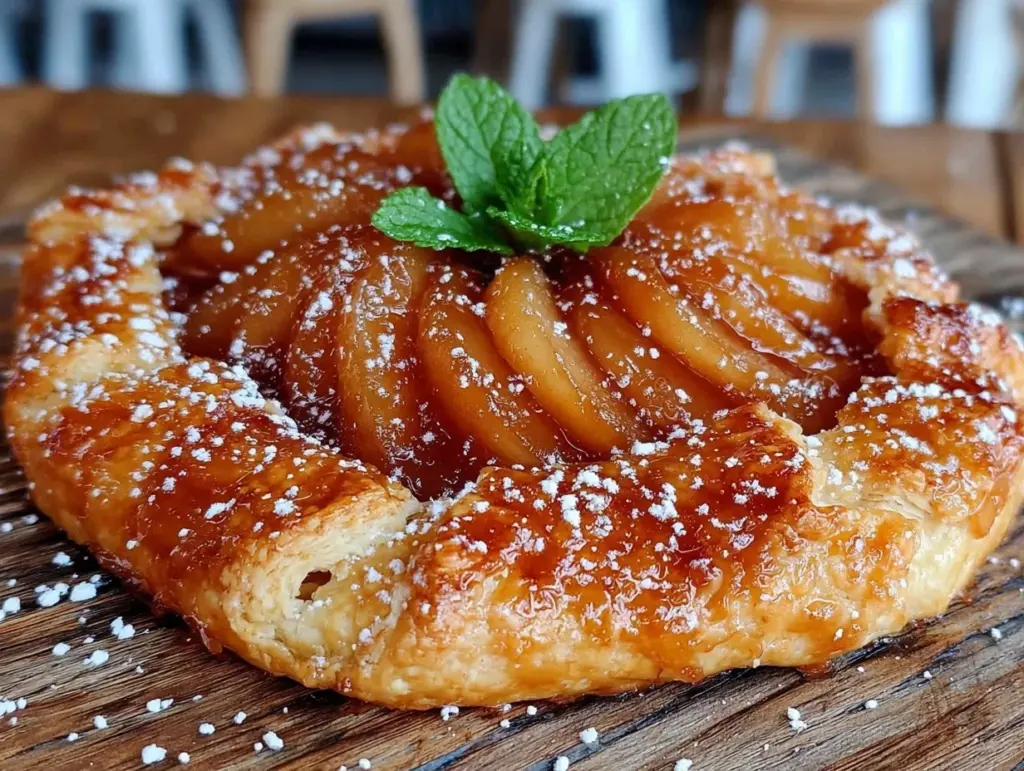
Last November, I was hosting my first holiday dinner party since my kids started eating like bottomless pits. I wanted something that looked like I’d spent hours in a French pastry shop but actually required about forty-five minutes of my time. I decided to make a pear galette. I had grand visions of flaky, golden layers, glistening with honey, and pears that were tender but held their shape. I also had a secret terror: soggy bottoms. I’ve ruined more pie crusts than I care to admit. I remember one Christmas where the crust was so dense it was basically a hockey puck. I was ready to just buy the store-bought rounds and hide in the pantry.
But then I stumbled onto a method that completely changed how I approach fruit desserts. Instead of raw pears going straight onto the dough, I decided to poach them first. And for the crust? I stopped treating butter like an enemy and started treating it like the star ingredient. This honey poached pear galette with flaky all butter crust isn’t just a dessert; it’s my new holiday hosting secret weapon. It’s elegant enough for your in-laws but forgiving enough for your stressed-out self.
I’ve tested this recipe at least eight times over the last year, tweaking the honey amount and the poaching liquid until it was perfect. The result? A dessert that tastes like autumn wrapped in buttery, shattering pastry. It’s the kind of dish that makes people ask, “Did you buy this?” right before they take a second slice. If you’ve ever been intimidated by galettes, this is your chance to stop being scared and start baking. Trust me, once you try the honey poaching trick, you’ll never go back to raw fruit in a pie.
Why You’ll Love This Holiday Galette
There are a lot of reasons to make this dessert, but let’s be real—you want the reason that matters most: it works. Every single time. Here’s why this honey poached pear galette has earned a permanent spot in my holiday rotation.
It’s Forgiving (Like, Actually Forgiving)
Galettes are the anti-perfectionist’s best friend. You don’t need a pie tin. You don’t need to crimp edges like a pro. You just fold the dough over the fruit. If it looks rustic? That’s a feature, not a bug. I’ve made this for formal dinners and casual weeknights, and it looks equally impressive. The irregular shape adds to the charm, making it feel homemade and heartfelt rather than factory-produced.
The Crust is Actually Flaky
I’m obsessed with the texture of this crust. By using cold butter and keeping the dough cool, I get layers that shatter when you cut into it. It’s not tough. It’s not chewy. It’s light and buttery. I’ve tried recipes that use shortening or oil, but nothing compares to the flavor of all-butter pastry. It’s worth the extra ten minutes of prep to get it right.
Pears Stay Firm and Flavorful
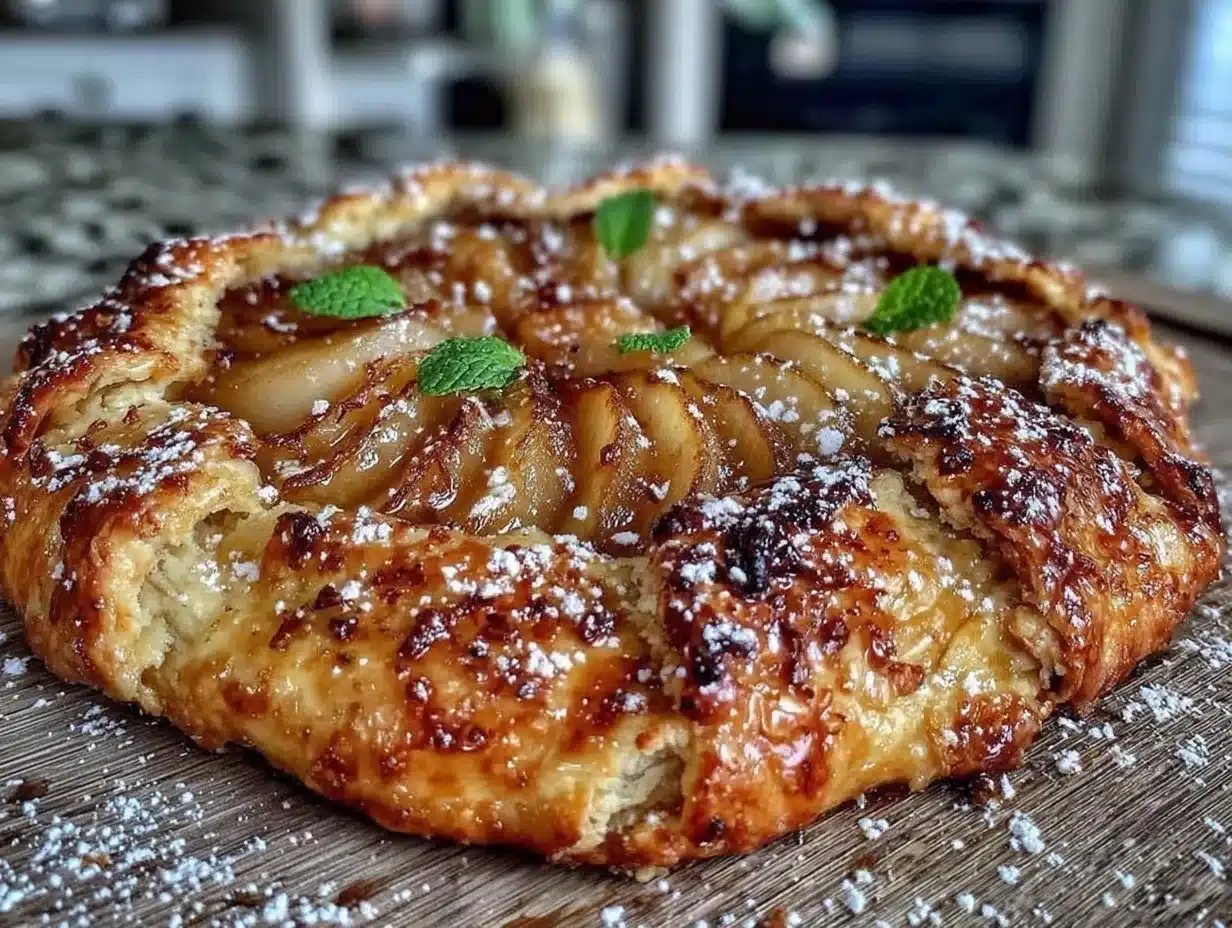
This is the game-changer. Raw pears release a ton of water when baked, which often leads to a soupy center. By poaching them in honey and spices first, I drive out some of that moisture and infuse the fruit with flavor. They hold their shape beautifully in the oven, so every bite has a perfect ratio of fruit to crust. No more soggy bottoms or watery messes.
Perfect for Holiday Hosting
It looks sophisticated on a platter but requires minimal active time. You can make the crust a day ahead, poach the pears the day before, and assemble everything the morning of. This means you’re not stuck in the kitchen while your guests are enjoying cocktails. You can actually sit down and have a drink. I’ve paired this with my fall caramel apple sheet cake for big parties, but honestly, this galette stands on its own beautifully.
Ingredients You’ll Need
Before we get to the fun part, let’s talk about what you need to buy. I’m particular about three things here: the pears, the butter, and the honey. Get these right, and you’re 90% of the way to success.
For the Honey Poached Pears
Anjou or Bosc Pears (4 large, firm) — Don’t use ripe, mushy pears. You want fruit that can withstand boiling. Bosc pears are great because they’re firmer, but Anjou works too. Look for pears that are yellow-green and firm to the touch. If they squish, leave them on the shelf.
Honey (½ cup) — This is the sweetener and the flavor base. I use clover honey for a mild, floral taste, but wildflower or even maple syrup works if that’s what you have. Avoid overly strong honeys like buckwheat unless you want that distinct flavor to shine.
Water (1 cup) — Just enough to cover the pears in the pan. Use filtered if your tap water tastes weird.
Vanilla Bean (1 pod, split) — Or 1 teaspoon of pure vanilla extract. If you can find a vanilla bean, scrape the seeds into the pot. Those little black specks look gorgeous against the pears and add authentic flavor.
Cinnamon Stick (1 whole) — Adds warmth without making it taste like pumpkin pie. Remove it before serving.
Lemon Juice (1 tablespoon) — A splash of acid balances the sweetness of the honey and keeps the pears from turning brown.
For the Flaky All-Butter Crust
All-Purpose Flour (1 ½ cups / 190g) — I use King Arthur Brand because it has a consistent protein content. It gives the dough structure without being too tough.
Unsalted Butter (¾ cup / 170g, very cold) — This is non-negotiable. Use high-quality butter. I like Plugrá or Kerrygold. Cut it into cubes and keep it in the freezer for 10 minutes before using. Cold butter creates steam pockets, which equals flakiness.
Salt (1 teaspoon) — Enhances flavor and strengthens gluten slightly. Use kosher salt.
Ice Water (4-6 tablespoons) — The water must be icy cold. I keep a bowl of ice water next to my mixing bowl. If the water gets warm, the butter melts, and you lose the flaky layers.
Egg Yolk (1 large) — Whisked with a tablespoon of water. This helps bind the dough and gives the crust a beautiful golden color when baked.
For Assembly
Granulated Sugar (1 tablespoon) — Sprinkled on top for that crackly, sweet crust.
Heavy Cream (for brushing) — Optional, but helps the sugar stick and promotes browning.
Equipment Needed
You don’t need fancy gadgets for this. Here’s what I actually use in my kitchen.
Small Saucepan — I use a 6-quart sauté pan or a medium saucepan for poaching. It needs to be wide enough to hold the pears in a single layer if possible, or at least not crowded.
Food Processor — Optional but highly recommended. It makes cutting in the butter super fast and keeps the butter cold. If you don’t have one, use a pastry cutter or your fingers. Just work quickly.
Rolling Pin — A standard wooden rolling pin works fine. I prefer one with handles for better control.
Baking Sheet — Line it with parchment paper. Galettes can be messy, and parchment makes cleanup a breeze.
Pastry Brush — For brushing the egg wash and cream. Silicone brushes are easier to clean than natural bristle ones.
How to Make It: Step-by-Step
Alright, let’s make this! I’m walking you through exactly how I do it, including the little tricks I’ve picked up over the years. This process has two main parts: poaching the pears and making the crust. I usually make the crust first, let it chill, then poach the pears while the dough rests.
Step 1: Make the Dough (10 minutes active)
Start by pulsing the flour and salt in your food processor a few times to combine. Add the cold, cubed butter. Pulse in short bursts—about 10-15 pulses. You want the mixture to look like coarse meal with some pea-sized chunks of butter remaining. Those chunks are key; they’ll melt in the oven to create steam and lift the layers.
With the processor running, drizzle in the ice water, one tablespoon at a time. Stop and check the dough after each addition. You want it to just start to come together when you pinch a piece. It might look shaggy at first, but don’t add more water yet. Once it forms a rough ball, dump it onto a sheet of plastic wrap. Divide it in half, flatten each half into a disc, wrap tightly, and refrigerate for at least one hour. Preferably two. This rest time relaxes the gluten and re-chills the butter, which is crucial for a tender crust.
Step 2: Poach the Pears (20 minutes)
While the dough chills, prep the pears. Peel them, leaving the stems on if you want them to look fancy (I usually do, it looks elegant). Cut them in half lengthwise and scoop out the core with a melon baller or spoon. You want neat, hollowed-out pear halves.
In your saucepan, combine the honey, water, vanilla bean (or extract), cinnamon stick, and lemon juice. Bring to a simmer over medium heat, stirring until the honey dissolves. Gently place the pear halves into the syrup. They should be mostly submerged. If they’re not, just tilt the pan or add a splash more water. Simmer gently for 10-15 minutes, depending on the size of your pears. They’re done when a knife slides in easily but they still hold their shape. Be careful not to overcook them into mush.
Remove the pears with a slotted spoon and let them cool on a wire rack. Strain the syrup and reserve it! You can brush it on the pears later or save it for drizzling over ice cream. Discard the cinnamon stick and vanilla pod.
Step 3: Assemble the Galette (15 minutes)
Preheat your oven to 400°F (200°C). Line a baking sheet with parchment paper. Take one disc of dough from the fridge and let it sit for 5 minutes so it’s pliable but still cold. Roll it out on a floured surface into a rough 12-inch circle. Don’t worry about perfect circles. Transfer the dough to the parchment-lined baking sheet.
Arrange the poached pear halves on the dough, cut-side up, leaving a 2-inch border around the edge. You want them to overlap slightly in the center but not be too crowded. Drizzle any remaining honey syrup over the pears. Fold the border of the dough up and over the pears, pleating it as you go. It doesn’t need to be perfect; rustic folds look best. Brush the folded crust with egg wash and sprinkle generously with granulated sugar.
Step 4: Bake to Golden Perfection (35-40 minutes)
Place the galette in the preheated oven. Bake for 35-40 minutes, or until the crust is deep golden brown and the pears are tender. If the edges start browning too quickly, tent them with foil. The galette is done when the crust looks shattering and the filling is bubbling slightly.
Let it cool on the baking sheet for at least 15 minutes before slicing. This allows the juices to set slightly, so you don’t get a waterfall of syrup when you cut it. Serve warm with a dollop of whipped cream or a scoop of vanilla bean ice cream.
Expert Tips & Tricks
Here’s everything I’ve learned from making this dozens of times. These tips will save you from my mistakes.
Keep Everything Cold
This is the #1 rule for flaky pastry. If your butter gets soft, your crust gets tough. Work in a cool kitchen if you can. If your dough starts to feel warm, put it back in the fridge for 10 minutes. I’m serious about this. It’s the difference between a crumbly, tender crust and a rubbery one.
Don’t Skip the Poaching
I know it feels like an extra step, but poaching the pears prevents the soggy bottom issue that plagues so many fruit galettes. It also concentrates the flavor. The pears absorb the honey and vanilla, making them taste richer than if they were baked raw.
Use a Light Hand with the Dough
When rolling out the dough, handle it as little as possible. Overworking the dough develops gluten, which makes it tough. Roll it gently and confidently. If it tears, just patch it with a scrap piece. It’ll hold together in the oven.
Reserve the Syrup
The honey syrup left over from poaching is liquid gold. Don’t throw it away! Brush it on the pears before baking for extra gloss, or drizzle it over the finished galette. It’s also amazing stirred into oatmeal or yogurt.
Cool Before Slicing
I know it’s hard to wait, but slicing a hot galette is a mistake. The filling is molten and will run out everywhere. Let it rest for 15-20 minutes. The pears will firm up slightly, and the slices will hold their shape beautifully.
Variations & Substitutions
Once you’ve nailed the basic version, here’s how you can mix it up. I’ve tried all of these.
Apple Version
Swap pears for firm apples like Honeycrisp or Granny Smith. Peel, core, and slice them thinly. You may need to poach them for a shorter time, or just sprinkle them with cinnamon and sugar before assembling. I’ve made this with apples for Thanksgiving, and it’s a huge hit.
Spiced Honey
Add a star anise, a piece of ginger, or a pinch of cardamom to the poaching liquid. It adds a warm, aromatic depth that pairs beautifully with the honey. I love adding a strip of orange zest for brightness.
Gluten-Free Crust
Use a 1:1 gluten-free flour blend instead of all-purpose flour. The texture might be slightly more crumbly, but it still works well. I’ve used Bob’s Red Mill 1-to-1 and it held up nicely.
Vegan Option
Use coconut oil or vegan butter instead of dairy butter. Substitute the egg wash with a mixture of coconut milk and maple syrup. The pears can stay the same since they’re naturally vegan.
Different Fruits
You can poach peaches, plums, or even figs using this method. Just adjust the poaching time based on the fruit’s firmness. Peaches are delicate, so they need less time. Figs are tricky because they can get mushy, so poach them briefly or just roast them.
Serving & Storage
How to serve this beauty? I usually serve it straight from the baking sheet at the dinner table—it looks rustic and stays warm. But here are other ways I’ve enjoyed it:
Side Dishes
This is a dessert, so it stands alone. But if you’re serving it as part of a larger spread, it pairs well with coffee or tea. I also like it with a glass of dessert wine, like a Moscato or a late-harvest Riesling.
Toppings Bar
When I have guests, I put out: whipped cream, vanilla ice cream, candied pecans, and a drizzle of warm honey. Everyone customizes their slice.
Refrigerator
Store leftovers in an airtight container for up to 3 days. The crust will soften slightly, but the flavors meld nicely. Bring to room temperature before serving for the best texture.
Reheating
Best method: Warm in a 350°F oven for 10 minutes. This restores the crispness of the crust. Microwave it, and the crust will get chewy and sad. Avoid the microwave if you care about texture.
Freezing
You can freeze the baked galette for up to 2 months. Let it thaw at room temperature. The texture might be slightly less flaky, but it’s still delicious. I usually freeze it for my kids’ school lunches or a quick dessert later.
Nutrition Information
I’m not a nutritionist, but here’s the breakdown if you’re tracking. This is a rich dessert, so portions matter.
Per Serving (based on 8 servings):
– Calories: 320
– Protein: 4g
– Carbs: 45g
– Fiber: 4g
– Sugar: 28g
– Fat: 14g
– Saturated Fat: 8g
– Cholesterol: 35mg
– Sodium: 210mg
What’s Good:
– Fiber from the pears and whole wheat options (if used)
– Antioxidants from the honey and cinnamon
– Satisfying sweetness without refined sugar overload (thanks to honey)
What to Know:
– Higher in calories from butter and honey
– Contains dairy and gluten
– Moderate sugar content, but natural from fruit and honey
My Take:
Look, this is a dessert. It’s meant to be enjoyed. The honey poaching adds natural sweetness, so you don’t need to add as much sugar as you would with raw fruit. When I make it for my family, I focus on the experience—the flaky crust, the warm spices, the shared moment. It’s worth the calories for the joy it brings.
Final Thoughts
So that’s my honey poached pear galette! I’ve probably talked your ear off at this point, but when you make a recipe this often, you have a lot to say about it. This has saved my holiday dessert game more times than I can count. It’s my answer to “what’s for dessert” when I want something impressive but manageable. My guests are happy, my family is happy, and I’m happy because I’m not stressed about cooking.
Make it yours! Try different spices, swap in your favorite pears, or experiment with the honey type. The best recipes are the ones you adapt to your tastes. If you make this, drop a comment and let me know what you think! I love hearing how recipes turn out in your kitchen. And if something doesn’t work, tell me that too—I’m here to help troubleshoot.
Happy baking! And I hope your kitchen smells half as good as mine does right now.
Frequently Asked Questions
Can I use frozen pears for this recipe?
I don’t recommend it. Frozen pears release a lot of water and tend to get mushy when poached. Fresh, firm pears give you the best texture and flavor. If you must use frozen, thaw them completely and pat them dry, but the results won’t be as good.
Why did my crust shrink in the oven?
This usually happens if the dough wasn’t chilled enough before rolling, or if you stretched it while rolling. Always chill the dough after rolling it out and before adding the filling. If it shrinks slightly, don’t panic—it’s normal. Just adjust the folds.
Can I make the galette ahead of time?
Yes! Assemble the galette completely, cover it tightly with plastic wrap, and refrigerate for up to 24 hours. Bake it the next day. You might need to add 5 minutes to the baking time if it’s cold from the fridge.
What kind of honey is best?
Any good quality honey works. I prefer clover or wildflower for their mild, floral notes. Avoid strong honeys like buckwheat unless you want that distinct flavor to dominate. The honey should be liquid, not crystallized, for easy mixing.
Can I add nuts to the galette?
Absolutely! Sprinkle chopped pecans, walnuts, or almonds on the dough before adding the pears. It adds crunch and richness. I love adding candied pecans for a holiday twist.
How do I know when the pears are done poaching?
Test with a knife. It should slide in easily but the pear should still hold its shape. If the knife goes in like butter, they’re done. If it’s still hard, keep simmering for another minute or two.
Pin This Recipe!
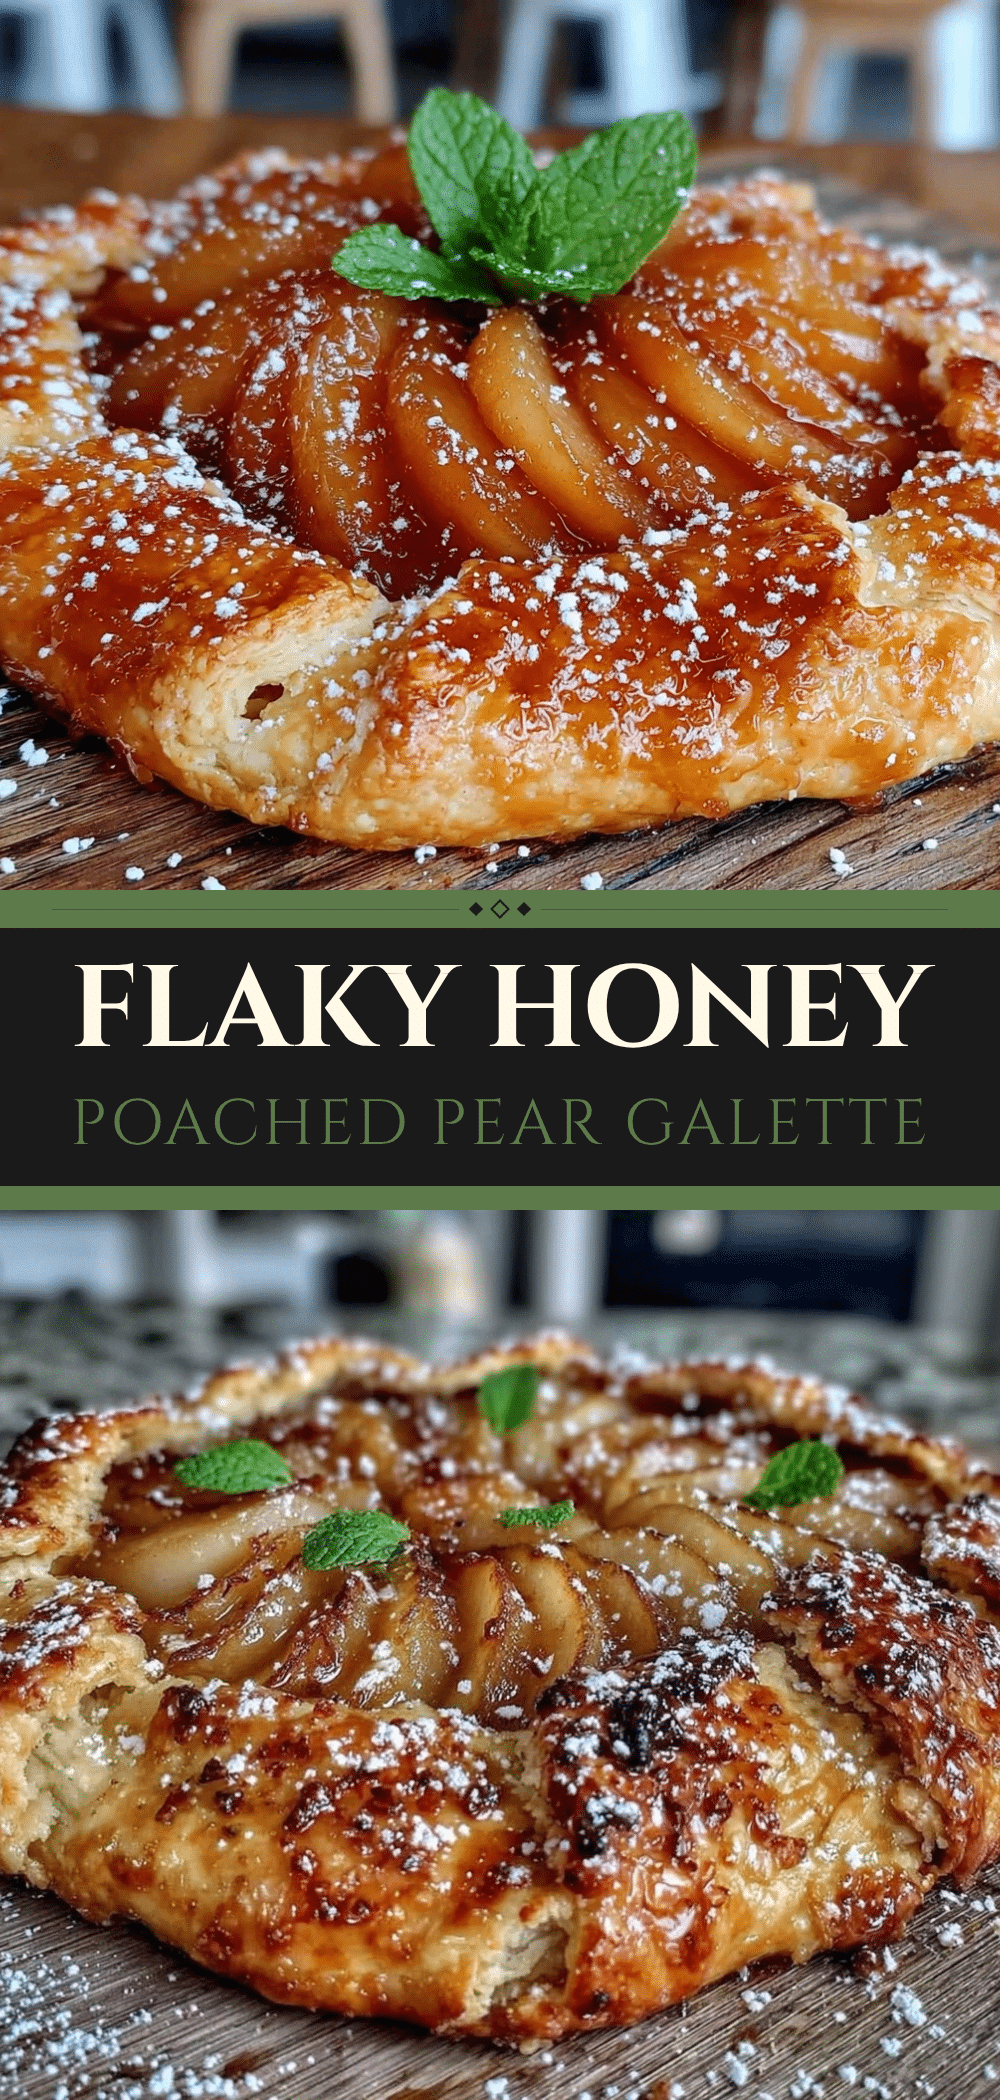
Honey Poached Pear Galette: 1 Trick for Flaky Crust
- Total Time: 80 minutes
- Yield: 8 servings 1x
Description
An elegant yet forgiving holiday dessert featuring tender, honey-poached pears nestled in a shattering, all-butter flaky crust. This recipe prevents soggy bottoms by pre-poaching the fruit, making it perfect for stress-free entertaining.
Ingredients
- 4 large firm Anjou or Bosc pears
- 1/2 cup honey
- 1 cup water
- 1 vanilla bean, split (or 1 tsp pure vanilla extract)
- 1 whole cinnamon stick
- 1 tablespoon lemon juice
- 1 1/2 cups all-purpose flour
- 3/4 cup unsalted butter, very cold and cubed
- 1 teaspoon salt
- 4–6 tablespoons ice water
- 1 large egg yolk
- 1 tablespoon water (for egg wash)
- 1 tablespoon granulated sugar
- Heavy cream (optional, for brushing)
Instructions
- Make the dough: Pulse flour and salt in a food processor. Add cold cubed butter and pulse until mixture resembles coarse meal with pea-sized butter chunks.
- With processor running, drizzle in ice water one tablespoon at a time until dough just begins to come together. Form into a rough ball, divide in half, flatten into discs, wrap in plastic, and refrigerate for at least 1 hour (preferably 2).
- Poach the pears: Peel pears, leaving stems on if desired. Cut in half lengthwise and remove cores. In a saucepan, combine honey, water, vanilla, cinnamon stick, and lemon juice. Bring to a simmer.
- Gently place pear halves in the syrup. Simmer for 10-15 minutes until a knife slides in easily but pears hold shape. Remove pears with a slotted spoon and cool on a wire rack. Reserve syrup.
- Preheat oven to 400°F (200°C). Line a baking sheet with parchment paper.
- Roll one dough disc into a 12-inch circle on a floured surface. Transfer to the baking sheet.
- Arrange poached pear halves cut-side up on the dough, leaving a 2-inch border. Drizzle with reserved honey syrup.
- Fold the dough border up and over the pears, pleating as you go. Brush crust with egg wash (egg yolk mixed with water) and sprinkle with granulated sugar.
- Bake for 35-40 minutes until crust is deep golden brown and pears are tender. Tent edges with foil if browning too quickly.
- Cool on the baking sheet for at least 15 minutes before slicing to allow juices to set. Serve warm.
Notes
Keep all ingredients, especially butter and water, very cold to ensure a flaky crust. Do not skip the poaching step as it prevents a soggy bottom and concentrates flavor. Let the galette cool completely before slicing to prevent the filling from running. Leftovers can be stored in the fridge for 3 days or frozen for 2 months.
- Prep Time: 45 minutes
- Cook Time: 35-40 minutes
- Category: Dessert
- Cuisine: French
Nutrition
- Serving Size: 1 slice
- Calories: 320
- Sugar: 28
- Sodium: 210
- Fat: 14
- Saturated Fat: 8
- Carbohydrates: 45
- Fiber: 4
- Protein: 4
Keywords: pear galette, honey poached pears, flaky crust, holiday dessert, all butter pastry, rustic tart, autumn baking


