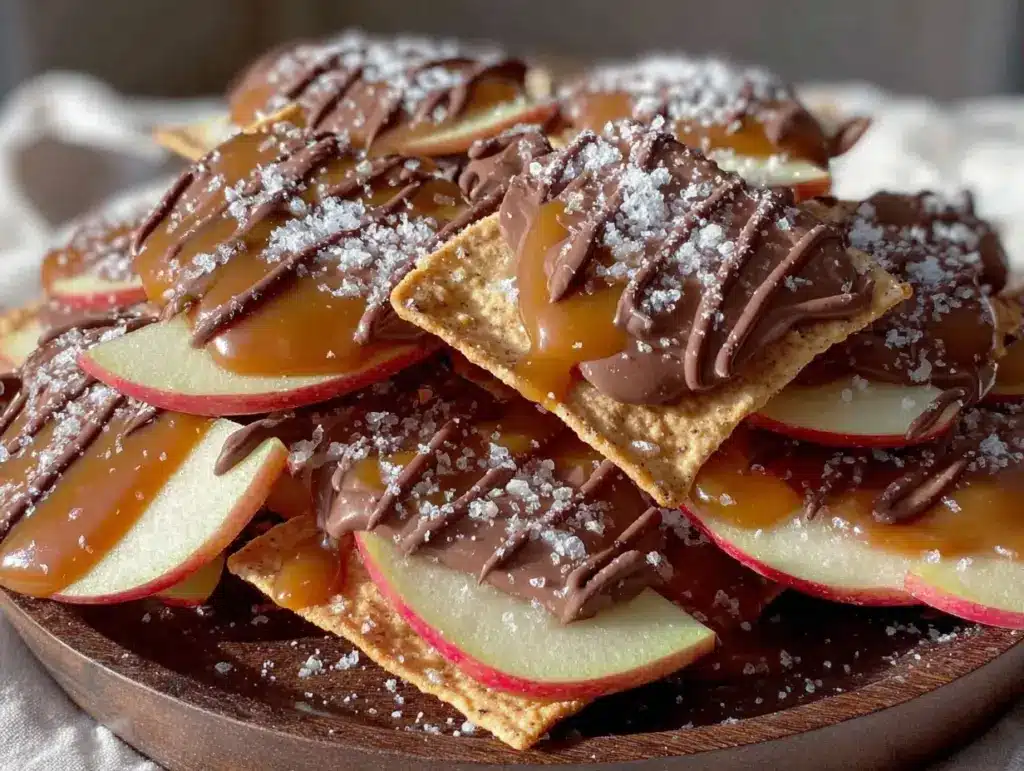
Let’s be real for a second. Holiday parties are a minefield of sugar bombs. You walk into your neighbor’s house, and the table is groaning under the weight of fudge, pecan pie, and those overly sweet gelatin molds from 1975. It’s delicious, sure, but about an hour later, you’re hitting a wall so hard you can barely keep your eyes open. I’ve been there. I’ve felt that post-dessert slump, the kind where you’re smiling politely while mentally calculating how long it takes to drive home.
Last Thanksgiving, I was determined to break that cycle. I wanted to bring something that looked festive enough to sit on a fancy platter but actually had some substance to it. Something that tasted like autumn but didn’t leave my family in a food coma. That’s when I had my “aha” moment. Why are we always choosing between a healthy snack and a decadent dessert? What if we could have both?
So, I created these caramel apple nachos. They are crunchy, they are sweet, they are creamy, and they are packed with fiber and protein because of the nuts and seeds hiding in plain sight. I brought them to my sister’s holiday gathering, and they vanished in twenty minutes. Not because they were just another plate of cookies, but because they felt like a treat that didn’t come with a side of regret. If you’ve ever loved the combination of textures in my fall caramel apple sheet cake, you’re going to lose your mind over this version. It’s faster, it’s easier, and it’s perfect for sharing.
This isn’t just a snack; it’s your new holiday fuel. It keeps you going through the dinner rush, the awkward small talk, and the drive home. Let me show you how to make it.
Why You’ll Love This Recipe
There are a dozen reasons I keep making this for every gathering, but let’s focus on the ones that actually matter to your sanity and your energy levels.
It’s Actually Nutritious — I know, I know. “Nachos” doesn’t sound like a health food. But these are sliced apples, not chips. Plus, the toppings are loaded with healthy fats from walnuts and chia seeds. It’s a balanced bite that stabilizes your blood sugar instead of spiking it. I feel energized after eating these, not sluggish.
Zero Stress Assembly — I am not a chef who needs 45 minutes to plate a dessert. I need something I can throw together in 10 minutes while the main course is cooking. This is that recipe. Slice apples, drizzle sauce, sprinkle toppings. Done. If you can hold a knife and pour, you can make this.
It’s a Crowd-Pleaser (Even for the Picky Eaters) — My nephew, who usually only eats chicken nuggets, devoured three of these. The crunch of the apple with the soft caramel and the salty nuts? It hits all the right buttons. It feels indulgent, but it’s really just fruit and nuts. Everyone wins.
Perfect for Meal Prep — I often slice these the night before and store them in the fridge with a little lemon juice to prevent browning. When guests arrive, they’re ready to go. It’s make-ahead dessert perfection.
It Tastes Better the Next Day — Seriously. The apples soften slightly, the flavors meld, and it becomes even more cohesive. I’ve made extra specifically for breakfast the next morning. It’s like a deconstructed apple crisp that actually keeps you full until lunch.
Ingredients You’ll Need
Here’s the best part: you probably have most of this already. This isn’t a recipe that requires a trip to three different specialty stores. It’s pantry-friendly, holiday-themed, and simple.
For the Base:
Crunchy Apples (4 large apples, sliced) — I use Honeycrisp or Fuji. They hold their shape and have that perfect sweet-tart balance. Granny Smith is too sour for this specific vibe, and Red Delicious gets too mushy. You want crisp. Slice them into thin wedges, about ¼ inch thick.
For the Caramel Sauce:
Butter (½ cup / 113g) — Unsalted is best so you can control the saltiness. Use real butter, not margarine. It makes a huge difference in the flavor profile.
Brown Sugar (1 cup / 200g) — This is non-negotiable. White sugar doesn’t give you that deep, molasses-rich flavor. Pack it down tight when you measure it.
Heavy Cream (½ cup / 120ml) — Room temperature works best here to prevent seizing. If you’re in a rush, microwave it for 10 seconds. Full fat only; low-fat cream will make the sauce grainy.
Vanilla Extract (1 teaspoon) — Use real vanilla, not imitation. It’s the finishing touch that makes it smell like a bakery.
Salt (½ teaspoon) — A pinch of salt cuts the sweetness and makes the caramel flavor pop. Don’t skip it.
For the Toppings (The Fuel Part):
Walnuts or Pecans (½ cup, chopped) — These add healthy omega-3 fatty acids and crunch. Chopped coarsely is better than finely minced; you want texture.
Chia Seeds (2 tablespoons) — I know, it sounds weird in a dessert. But they add fiber and protein without changing the taste. They’re tiny, they dissolve slightly, and they keep you full. Trust me.
Dark Chocolate Chips (¼ cup) — Use semi-sweet or dark chocolate. It adds a nice bitterness to balance the caramel. If you’re avoiding dairy, use vegan chips.
Mini Marshmallows (¼ cup, optional) — For that s’mores vibe. I use these sparingly because they’re pure sugar, but they’re fun for the kids.
Pinch of Sea Salt — For finishing. Flaky sea salt on top of caramel is just magic.
Equipment Needed
You don’t need fancy gadgets for this. Here’s what I actually use.
Saucepan — A small to medium non-stick saucepan works best. I use a 2-quart pot. It needs to be wide enough to let the caramel bubble evenly.
Whisk — Essential for stirring the sauce while it heats. Silicone whisks are great because they don’t scratch the pot.
Sharp Knife — For slicing the apples. A serrated knife works well for apples with tough skins.
Cutting Board — Any size. I use a large one so I can slice all apples at once.
Serving Platter — A large wooden board or a dark ceramic platter looks beautiful. The contrast makes the colors pop for photos.
Measuring Cups and Spoons — Standard stuff.
How to Make It: Step-by-Step
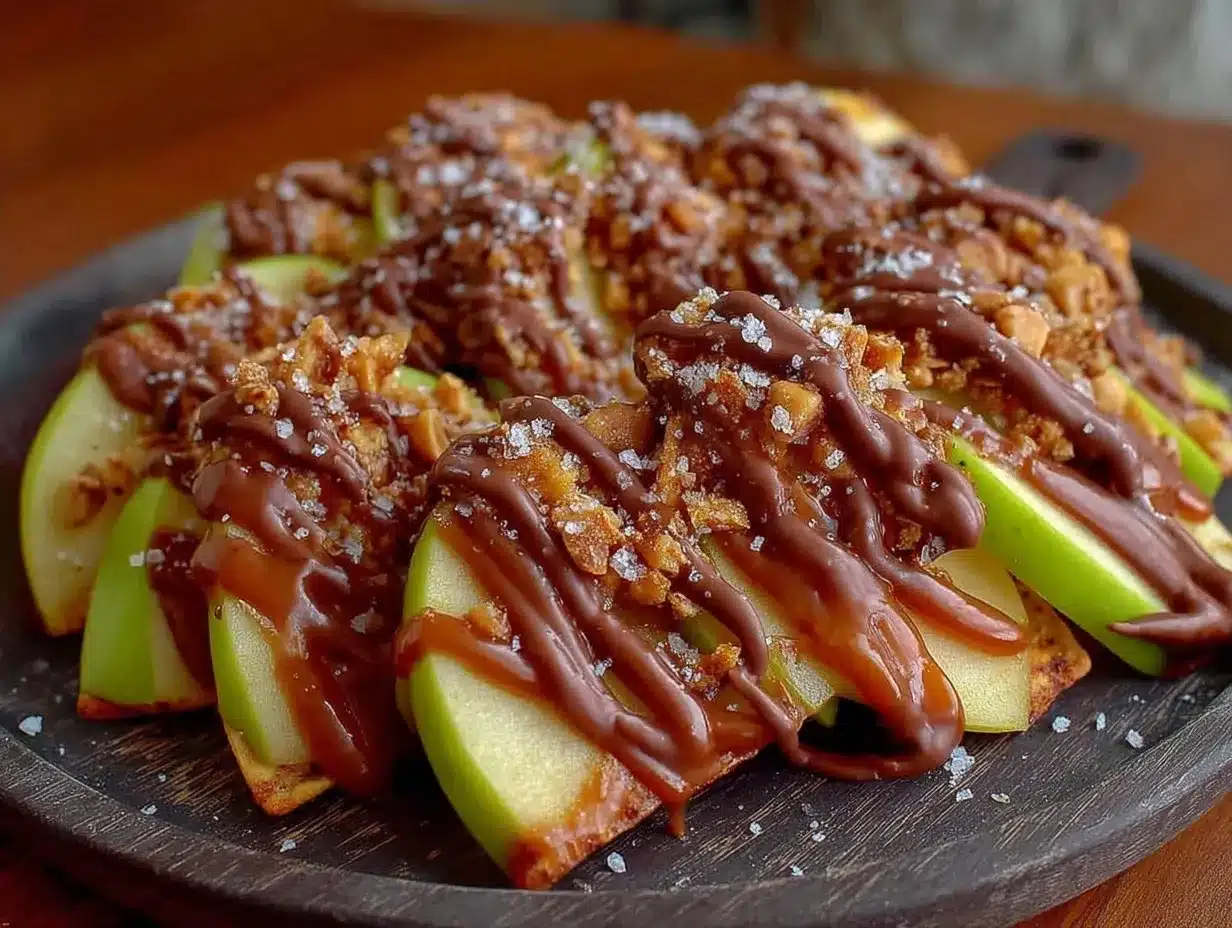
Alright, let’s make this! I’m walking you through exactly how I do it, including the little tricks I’ve picked up.
Step 1: Prep Your Apples (5 minutes)
Wash your apples thoroughly. You don’t need to peel them—the skin adds fiber and color. Slice them into thin wedges. Remove the cores, but keep the skin on. Arrange the slices on a plate or parchment paper while you make the sauce. If you’re making these ahead, toss them with a little lemon juice to prevent browning.
Step 2: Make the Caramel Sauce (10 minutes)
In your saucepan, melt the butter over medium heat. Once it’s foamy, add the brown sugar. Stir constantly until the sugar dissolves and the mixture looks like wet sand. This takes about 2-3 minutes. Don’t rush it, or the sugar will burn.
Slowly pour in the heavy cream while whisking vigorously. The mixture will bubble up aggressively—be careful! Keep whisking until it’s smooth. Bring it to a gentle simmer and cook for 2-3 minutes, stirring often, until it thickens slightly. It should coat the back of a spoon. Remove from heat and stir in the vanilla extract and salt.
Step 3: Assemble the Nachos (5 minutes)
Arrange the apple slices in a single layer on your serving platter. You want them to overlap slightly but not be too crowded. Drizzle the warm caramel sauce over the apples. Use about half the sauce now; you can save the rest for dipping later.
Sprinkle the chopped nuts, chia seeds, and chocolate chips evenly over the caramel. If you’re using marshmallows, add them now. Finish with a light sprinkle of flaky sea salt.
Step 4: Serve
Serve immediately while the caramel is still slightly warm and the chocolate is soft. These are best eaten within an hour of assembly for maximum crunch. Enjoy!
Expert Tips & Tricks
Here’s everything I’ve learned from making this dozens of times. These tips will save you from my mistakes.
Don’t Burn the Sugar — The most common mistake is letting the brown sugar burn before adding the cream. Keep the heat at medium, not high. If it starts to smell bitter, start over. It’s better to take 30 seconds longer than to waste the batch.
Room Temperature Cream — Cold cream hitting hot butter and sugar can cause the sauce to seize up. Let your cream sit out for 15 minutes before you start. It makes the emulsion smoother.
Chia Seeds Are Secret Weapons — I was skeptical at first, but the chia seeds add a subtle crunch and massive fiber boost. They don’t taste like anything, so you won’t even notice them. It’s a hack for making dessert feel like fuel.
Sauce Consistency — The sauce will thicken as it cools. If it gets too thick to drizzle, microwave it for 10 seconds and stir. It should be pourable but not watery.
Apple Selection Matters — Stick to firm apples. If you use Gala or McIntosh, they might get too soft and mushy under the weight of the toppings. Honeycrisp is the gold standard here.
Variations & Substitutions
Once you’ve nailed the basic version, here’s how you can mix it up. I’ve tried all of these.
Pumpkin Spice Version — Add 1 teaspoon pumpkin pie spice to the caramel sauce. Top with crushed graham crackers instead of nuts. It’s like a deconstructed pumpkin pie. If you love my pumpkin spice cinnamon rolls, this hits that same cozy note.
Chocolate Peanut Butter — Skip the chocolate chips and use peanut butter chips. Top with crushed peanuts and a drizzle of peanut butter. It’s like a Reese’s cup come to life.
Gluten-Free — This recipe is naturally gluten-free if you use gluten-free chocolate chips. Check the labels, as some chips have wheat starch.
Dairy-Free — Use coconut butter or vegan butter for the caramel. Use coconut cream instead of heavy cream. Use dairy-free chocolate chips. It’s surprisingly rich and creamy.
No-Bake Cheesecake Style — Add a layer of whipped cream cheese between the apple slices before adding the caramel. It’s like a no-bake pumpkin pie cheesecake but fresher and lighter.
Serving & Storage
How to Serve: I usually serve these straight from the platter at the dinner table. It looks rustic and stays warm. But here are other ways I’ve enjoyed them:
Side Dishes: These are a dessert, but they pair well with a glass of cold milk or a cup of black coffee. They cut through the richness of heavy holiday meals.
Storage: Store leftovers in an airtight container in the fridge for up to 2 days. The apples will soften, and the caramel will harden. It’s still good, just different.
Reheating: To soften the caramel, microwave individual portions for 10-15 seconds. Don’t overheat, or the apples will get mushy.
Freezing: I don’t recommend freezing these. The apples release water when thawed, and the texture gets weird. Make them fresh.
Pro Tip: If you’re making these for a party, make the sauce ahead and store it in a jar. Reheat it gently before serving. It saves time and keeps you calm.
Nutrition Information
I’m not a nutritionist, but here’s the breakdown if you’re tracking. Remember, this is fuel, not a diet compromise.
Per Serving (based on 8 servings):
- Calories: 180
- Protein: 3g
- Carbs: 28g
- Fiber: 4g
- Sugar: 24g
- Fat: 8g
- Saturated Fat: 4g
- Cholesterol: 15mg
- Sodium: 120mg
What’s Good: High fiber from the apples and chia seeds. Healthy fats from the nuts. Real ingredients, no artificial flavors.
What to Know: Higher in sugar from the caramel and apples. Contains dairy and nuts. Moderate calories, but very filling.
My Take: Look, this is a dessert. It has sugar and butter. But it’s also fruit and nuts. It’s way better than a candy bar, costs less, and I know exactly what’s in it. When I want to make it lighter, I reduce the caramel and increase the nuts. But usually? I just enjoy a reasonable portion and feel great.
Final Thoughts
So that’s my go-to caramel apple nachos! I’ve probably talked your ear off at this point, but when you make a recipe this often, you have a lot to say about it.
This has saved holiday gatherings more times than I can count. It’s my answer to “what dessert should I bring” when I’m tired, don’t want to bake a whole cake, and still want something that tastes really good. My kids are happy, my friends are happy, and I’m happy because I’m not stressed about cooking.
Make it yours! Try different nuts, swap in your favorite chocolate, adjust the caramel (though more is always better in my opinion). The best recipes are the ones you adapt to your family’s tastes.
If you make this, drop a comment and let me know what you think! I love hearing how recipes turn out in your kitchen. And if something doesn’t work, tell me that too—I’m here to help troubleshoot.
Happy cooking! And I hope your kitchen smells half as good as mine does right now.
Frequently Asked Questions
Can I use a different type of apple?
You can, but I recommend sticking to firm apples like Honeycrisp, Fuji, or Pink Lady. Softer apples like McIntosh or Red Delicious will get too mushy and lose their structure under the weight of the toppings. If you use Granny Smith, they might be too tart, so you may want to add a little extra sugar to the caramel.
Why did my caramel sauce seize up?
This usually happens if the cream is too cold or if the heat is too high. Always use room temperature cream and add it slowly while whisking constantly. If your sauce seizes, don’t panic! You can often save it by whisking in a tablespoon of warm water or a splash of hot cream until it smooths out.
Can I make this ahead for a party?
Yes! Slice the apples and store them in an airtight container with a little lemon juice in the fridge for up to 24 hours. Make the caramel sauce the night before and reheat it gently before serving. Assemble the nachos about 30 minutes before guests arrive so the caramel is still slightly warm and the chocolate is soft.
Are these gluten-free?
Yes, this recipe is naturally gluten-free as long as you use gluten-free chocolate chips. Check the labels on your chocolate chips, as some brands use wheat starch as an anti-caking agent. Most dark chocolate chips are gluten-free, but always double-check.
Can I freeze the caramel sauce?
You can, but the texture might change slightly. Store it in an airtight container in the freezer for up to 3 months. Thaw it in the fridge and reheat gently on the stove, whisking constantly to bring back the smooth consistency.
What if I don’t have chia seeds?
You can skip them or substitute with flax seeds, hemp hearts, or even crushed pistachios. The chia seeds are mostly for the fiber boost and subtle crunch, but they’re not essential. The recipe will still be delicious without them.
How do I reheat leftovers without them getting soggy?
These are best eaten fresh, but if you have leftovers, store them in the fridge. To reheat, microwave individual portions for 10-15 seconds to soften the caramel. Eat them within 2 days for the best texture. The apples will soften over time, which is normal.
Pin This Recipe!
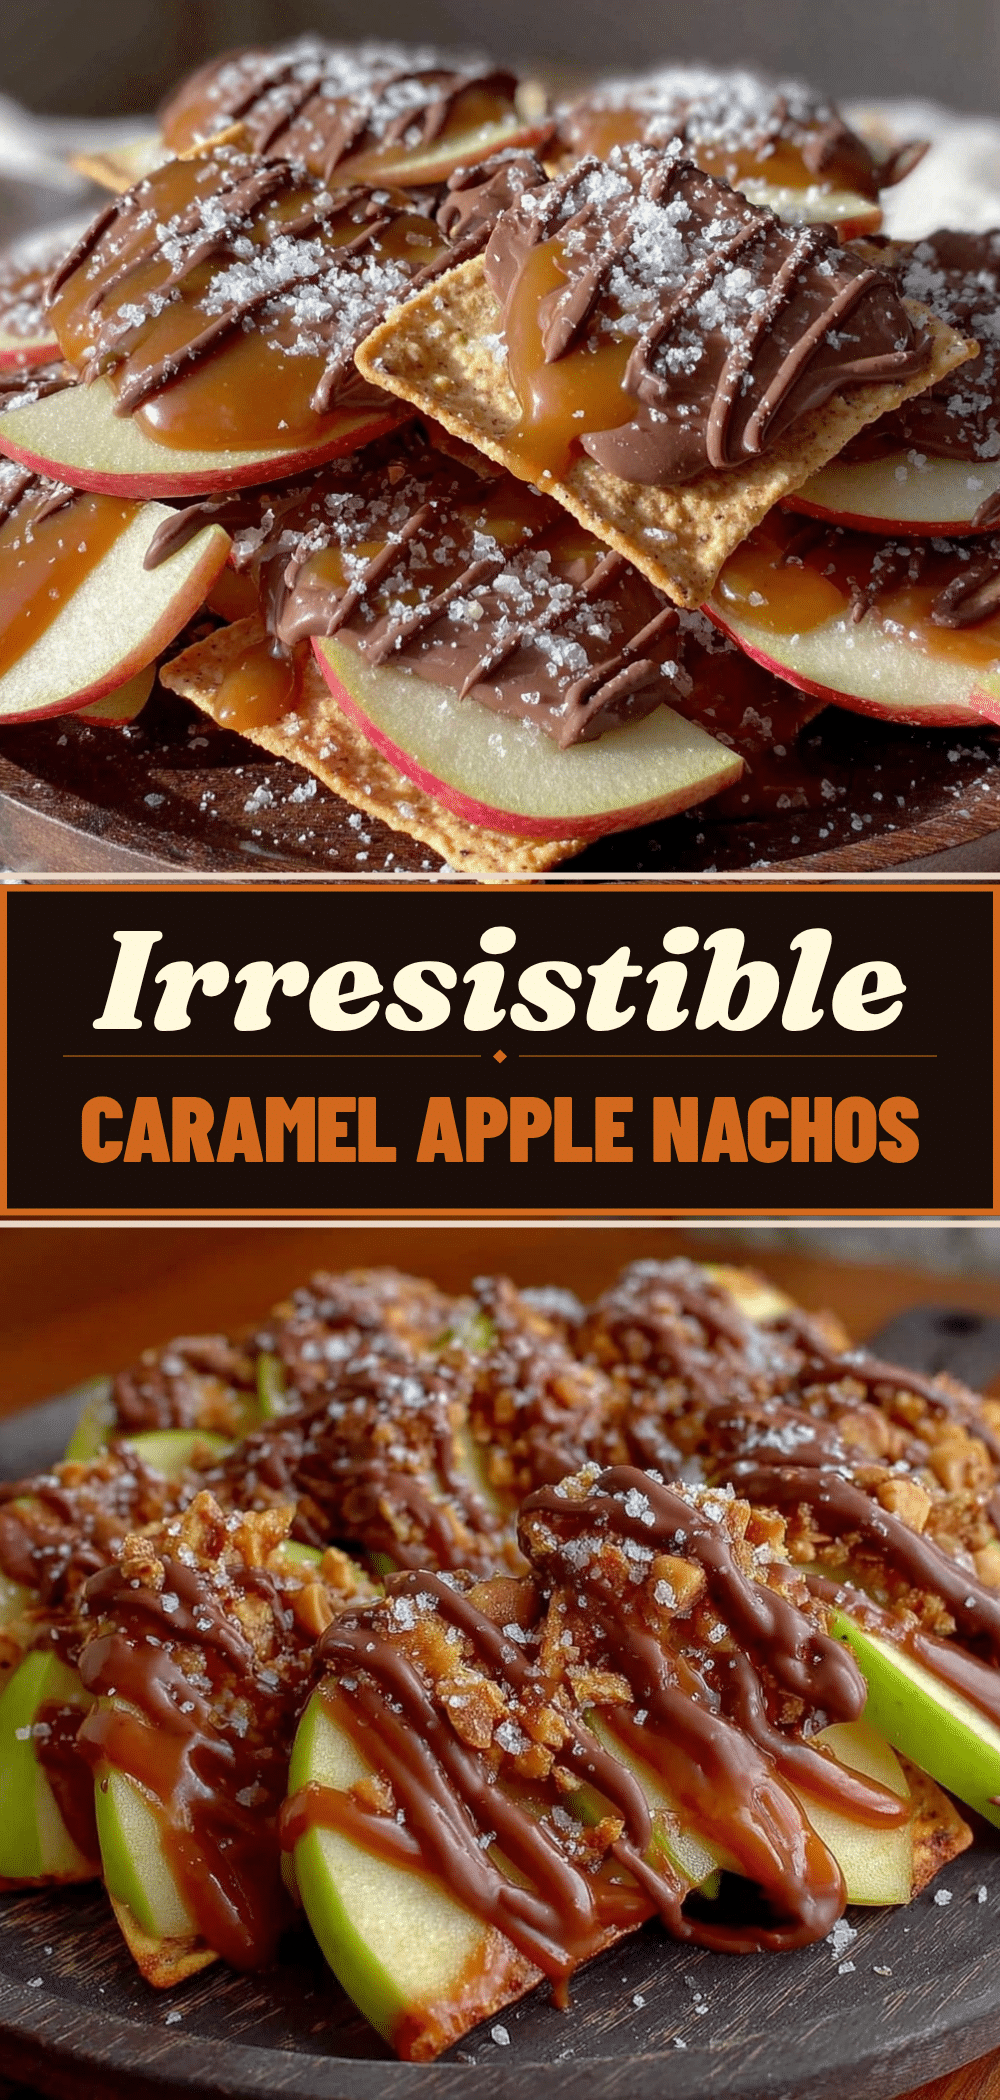
Caramel Apple Nachos: Best Easy Holiday Fuel
- Total Time: 15 minutes
- Yield: 8 servings 1x
Description
A festive, no-bake holiday dessert featuring crisp apple slices drizzled with homemade caramel sauce and topped with nuts, chia seeds, and chocolate chips for a balanced, energizing treat.
Ingredients
- 4 large apples (Honeycrisp or Fuji), sliced into thin wedges
- 1/2 cup (113g) unsalted butter
- 1 cup (200g) brown sugar, packed
- 1/2 cup (120ml) heavy cream, room temperature
- 1 teaspoon vanilla extract
- 1/2 teaspoon salt
- 1/2 cup walnuts or pecans, chopped
- 2 tablespoons chia seeds
- 1/4 cup dark chocolate chips
- 1/4 cup mini marshmallows (optional)
- Pinch of flaky sea salt for finishing
Instructions
- Wash apples and slice them into thin wedges, leaving the skin on. Arrange slices on a plate or parchment paper.
- In a small to medium saucepan, melt butter over medium heat until foamy.
- Add brown sugar and stir constantly for 2-3 minutes until dissolved and mixture resembles wet sand.
- Slowly pour in heavy cream while whisking vigorously. The mixture will bubble up.
- Bring to a gentle simmer and cook for 2-3 minutes, stirring often, until the sauce thickens slightly and coats the back of a spoon.
- Remove from heat and stir in vanilla extract and salt.
- Arrange apple slices in a single layer on a serving platter, overlapping slightly.
- Drizzle about half of the warm caramel sauce over the apples.
- Sprinkle chopped nuts, chia seeds, and chocolate chips evenly over the caramel.
- Add mini marshmallows if using, and finish with a light sprinkle of flaky sea salt.
- Serve immediately while the caramel is warm and chocolate is soft.
Notes
Use room temperature cream to prevent the sauce from seizing. Stick to firm apples like Honeycrisp or Fuji to maintain structure. The sauce will thicken as it cools; microwave for 10 seconds if needed. Store leftovers in an airtight container in the fridge for up to 2 days. Do not freeze as apples release water and become mushy.
- Prep Time: 5 minutes
- Cook Time: 10 minutes
- Category: Dessert
- Cuisine: American
Nutrition
- Serving Size: 1 serving (approx. 1
- Calories: 180
- Sugar: 24
- Sodium: 120
- Fat: 8
- Saturated Fat: 4
- Carbohydrates: 28
- Fiber: 4
- Protein: 3
Keywords: caramel apple nachos, holiday dessert, easy no-bake dessert, healthy holiday snack, apple nachos, fall recipes, party food


