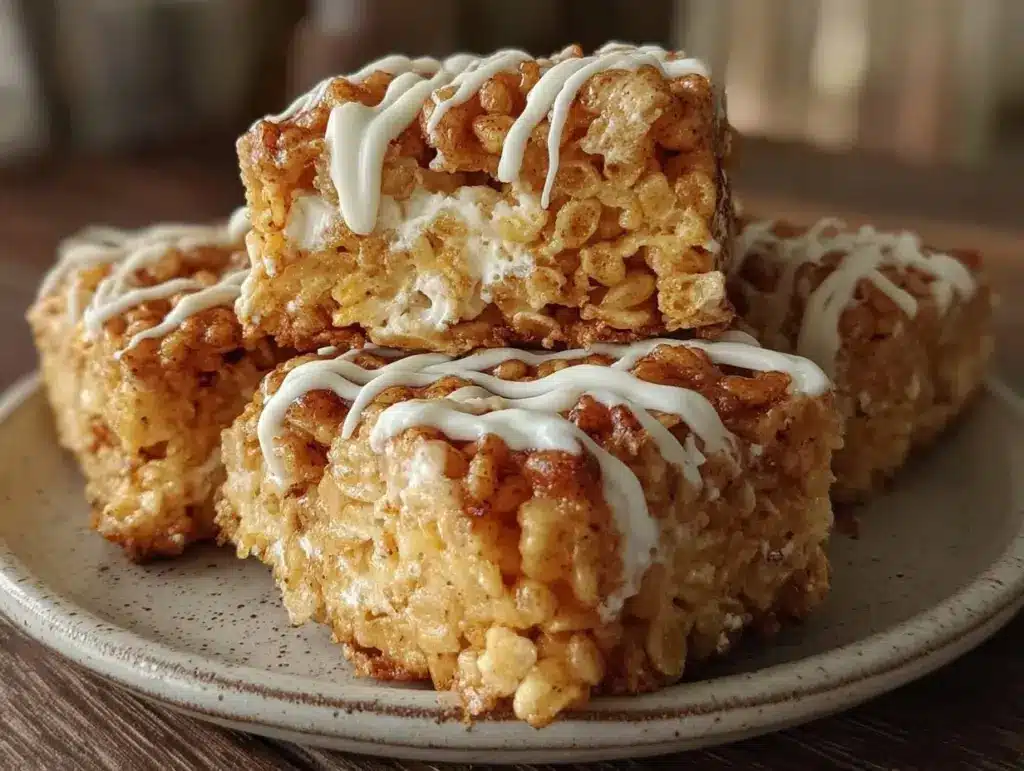
Last October, I was standing in our kitchen at 6 PM, staring at a calendar that said “Pumpkin Patch Trip Tomorrow” and a pantry that was mostly empty except for a box of Rice Krispies and a bag of marshmallows. My six-year-old, Leo, was sitting on the counter swinging his legs, asking if we could make something “pumpkin-y” because his friend at school brought in pumpkin spice cupcakes and everyone was talking about them. I didn’t have time for a complex bake, and I certainly didn’t want to order delivery. So I looked at the marshmallows, looked at the cereal, and had a weirdly specific idea.
We made pumpkin spice Rice Krispie treats. But not just any version. We made them with a white chocolate drizzle because, let’s be honest, plain treats are boring. What I didn’t expect was for those thirty minutes of sticky, sugary, messy cooking to become our favorite fall ritual. Leo got to pour the marshmallows (with my help, obviously, so he didn’t burn himself). He got to stir the gooey mess. He got to sprinkle the pumpkin spice. And when we finished, he was so proud of what he made that he ate two before I could even take a photo.
Now, every time October hits, this is the first thing we make. It’s not just because it tastes like autumn in a bar—it’s because it’s one of the few recipes where my kids can do almost everything themselves. There’s no chopping onions, no dangerous knife work, no waiting for dough to rise. It’s just heat, mix, press, and drizzle. If you’ve been looking for a way to get your little ones into the kitchen without stressing about a mess, these pumpkin spice Rice Krispie treats with white chocolate drizzle are your answer. They’re sweet, they’re nostalgic, and they’re incredibly forgiving if you’re a beginner cook.
Why You’ll Love Making (and Eating) These
There are about ten reasons I keep coming back to this recipe, but here are the big ones that keep it in our regular rotation.
Kid-Safe Steps — Seriously, if your child can stir and pour, they can make this. I’ve walked my seven-year-old through it completely independently (with just a safety monitor nearby). There are no sharp objects and no high-heat frying. It’s perfect for building confidence in the kitchen.
Smells Like Autumn — The moment that butter melts and the cinnamon and nutmeg hit the hot marshmallows, the whole house smells like a cozy fall morning. It’s way better than burning sage or lighting a candle, and it gets everyone excited for dinner time.
Super Fast — From start to finish, it takes about 20 minutes. That’s 10 minutes of active cooking and 10 minutes of cooling. I make these on rainy afternoons when we need to keep the kids occupied for a bit without screen time.
Customizable Fun — My daughter likes hers with extra white chocolate. My son likes them plain. I like mine with a little bit of sea salt on top. It’s a blank canvas for your family’s tastes. You can add mini pumpkins, candy corn, or just stick to the basics.
Makes Amazing Leftovers — These keep well in an airtight container for up to five days. They actually stay soft and chewy if you don’t overcook the marshmallows. I pack them in lunchboxes sometimes, and they’re always a hit.
This is my go-to when I need a project that ends with a delicious reward. No complicated techniques, no weird ingredients, just reliable, happy-making food that gets the whole family involved.
Ingredients You’ll Need
Here’s the best part: you probably have most of this already. It’s a pantry staple recipe with a few seasonal twists. I’m particular about three things here—the butter, the marshmallows, and the spice blend—and I’ll tell you exactly why.
Unsalted Butter (6 tablespoons / 85g) — Use real butter. Margarine makes the treats greasy and they don’t hold together as well. I use unsalted so I can control the saltiness, especially since the white chocolate is sweet.
Large Marshmallows (10 oz / 280g, about 3.5 cups) — Do not use mini marshmallows unless you want to wait forever. Standard large marshmallows melt evenly. I buy the big bags; we go through them fast. If you can’t find large ones, you can chop up a bag of mini ones, but it takes more time.
Rice Krispies Cereal (6 cups / approx. 170g) — The classic brand works best because of the shape. It traps the marshmallow goo perfectly. You can use generic store brand, but the texture is slightly different. I stick to the original flavor, not the pumpkin spice version, so I control the spice level myself.
Pumpkin Pie Spice (2 teaspoons) — This is the flavor backbone. Cinnamon, nutmeg, ginger, and allspice mixed together. If you don’t have a blend, mix 1 tsp cinnamon, ½ tsp nutmeg, ¼ tsp ginger, and ¼ tsp allspice. Fresh spice makes a huge difference—check your cabinet expiration dates!
Vanilla Extract (1 teaspoon) — Just a touch to round out the flavors. Don’t skip it.
White Chocolate Chips (½ cup / 85g) — For the drizzle. I use Ghirardelli or Toll House white chips. They melt smoothly. Avoid baking chips if you can; they’re designed to hold shape and don’t drizzle as nicely. Chocolate chips work too, but white looks more festive for fall.
Heavy Cream or Milk (1 tablespoon) — Added to the white chocolate to help it melt smoothly and become drizzle-able. Don’t use water; it will seize the chocolate.
Optional: Mini Pumpkin Candies or Sprinkles — For decoration. I love the little candy pumpkins for the Halloween season. They add a fun crunch and look adorable.
Salt (a tiny pinch) — Just a pinch in the mix helps balance the sweetness. It’s the secret ingredient that stops it from being cloying.
Equipment Needed
You don’t need fancy equipment for this. Here’s what I actually use.
Large Saucepan — A 3-quart or 4-quart pot is perfect. It needs to be big enough to hold the melting marshmallows without spilling over when you add the cereal. My non-stick saucepan is my go-to because cleanup is easier.
Large Mixing Bowl — A 6-quart bowl is ideal. You need room to fold the cereal in without making a mess. Glass or stainless steel works best because it’s sturdy.
Silicone Spatula — Essential for scraping the sticky marshmallow mixture out of the pan. Regular spoons don’t get the goo out as well. I use a heat-resistant spatula that can handle the hot marshmallows.
8×8 Inch Baking Pan — Standard size. Grease it well! I use butter or cooking spray. If you want thicker treats, use an 8×8. For thinner, crunchier bars, use a 9×13.
Parchment Paper — I line the pan with parchment paper, leaving an overhang on two sides. This makes it super easy to lift the whole block of treats out once they’re set. No more digging around with a spatula.
Small Microwave-Safe Bowl — For melting the white chocolate. A small ramekin or custard cup works perfectly.
Ziplock Bag — Optional, but I spray the inside of my hands with cooking spray before pressing the treats down. It stops the sticks from sticking to my fingers. It’s a game-changer for kids.
How to Make It: Step-by-Step
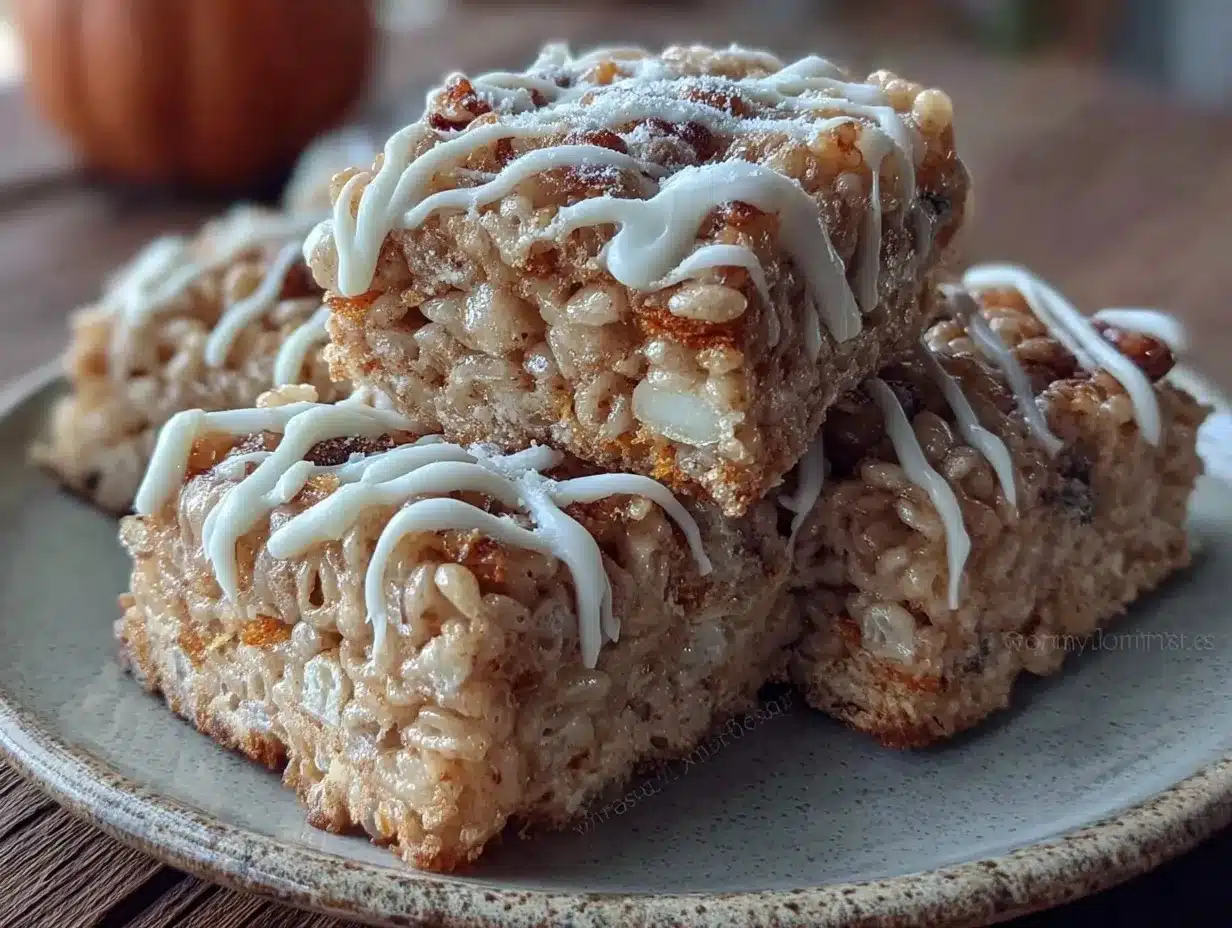
Alright, let’s make this! I’m walking you through exactly how I do it, including the little tricks I’ve picked up over years of making these with my kids.
Step 1: Prep the Pan and Bowl (2 minutes)
Before you start cooking, line your 8×8 inch baking pan with parchment paper and lightly grease it with butter or cooking spray. Set aside. This is a great step for kids—they can help spray the pan and press the paper into the corners. It feels like they’re “setting the stage” for the recipe.
Step 2: Melt the Butter and Marshmallows (5 minutes)
Place the large saucepan over medium-low heat. Add the butter. Once it’s melted, pour in the marshmallows. Stir constantly. This is the most important part. Do not walk away. Keep stirring until the marshmallows are completely melted and smooth. It should look like a glossy, white cloud. If you see lumps, keep stirring. This usually takes about 3-4 minutes. Low heat is key—high heat will burn the bottom and make the treats taste bitter.
Step 3: Add the Flavor (1 minute)
Once the marshmallows are melted and smooth, remove the pan from the heat. Immediately stir in the pumpkin pie spice, vanilla extract, and the tiny pinch of salt. The residual heat will warm the spices and release their aroma. Stir until it’s fully incorporated. The mixture will turn a lovely pale orange color. This is a fun moment for kids—they can smell the change and see the color shift.
Step 4: Fold in the Cereal (2 minutes)
Add the Rice Krispies cereal to the marshmallow mixture. Use your silicone spatula to gently fold the cereal in. You want to coat every piece evenly. Don’t overmix; just get it combined. If you’re working with kids, let them do the folding. It’s satisfying to watch the dry cereal disappear into the goo. If the mixture seems too dry and there are dry spots, add a splash of milk (about 1 tablespoon) and stir again.
Step 5: Press into the Pan (3 minutes)
Transfer the mixture into your prepared baking pan. Here’s the trick: spray your hands with cooking spray or butter them up. Press the mixture down firmly and evenly. You want it compact so the bars hold together, but don’t pack it so hard that they become rock-solid. Smooth the top with your hands. This is another great kid task—smoothing the top feels like playing with playdough.
Step 6: Cool Completely (30 minutes)
Let the treats sit at room temperature until they are completely cool and set. This takes about 30 minutes. Do not try to cut them warm—they will be messy and won’t hold their shape. While you wait, you can let your kids wash their hands and help with the next step.
Step 7: Make the White Chocolate Drizzle (5 minutes)
While the treats cool, melt the white chocolate chips. Place the chips and heavy cream in a microwave-safe bowl. Microwave in 30-second intervals, stirring in between, until smooth and drizzle-able. If it’s too thick, add another teaspoon of cream. If it’s too thin, add a few more chips. Once smooth, transfer it to a small Ziplock bag and snip off one corner. This makes it easy to drizzle.
Step 8: Drizzle and Decorate (5 minutes)
Once the treats are cool, lift them out of the pan using the parchment paper and place them on a cutting board. Drizzle the white chocolate over the top in a zigzag pattern. If you’re using mini pumpkin candies or sprinkles, add them immediately while the chocolate is wet so they stick. Let the chocolate set for about 5 minutes. Then, use a sharp knife to cut into squares. A serrated knife works best for clean cuts.
Total Time: About 45 minutes (15 minutes active, 30 minutes cooling)
Expert Tips & Tricks
Here’s everything I’ve learned from making this dozens of times with my kids. These tips will save you from my mistakes.
Don’t Overheat the Marshmallows
I’ve burned marshmallows twice before getting it right. The key is low and slow. If the bottom starts to brown, you’ve gone too far. It ruins the flavor. Keep the heat low and stir often.
Grease Your Hands
If you don’t spray your hands with cooking spray, the marshmallow will stick to your fingers and make a huge mess. It’s worth the extra second. Alternatively, you can use a buttered spatula to press it down, but hands are faster and more fun for kids.
Let It Cool Completely
I know it’s tempting to cut them warm. Don’t. They will be a sticky mess. Patience pays off. The texture is perfect when they’re fully set.
Customize the Spice
If your kids are sensitive to spice, reduce the pumpkin pie spice to 1 teaspoon. You can also add a little extra vanilla to mask the spice flavor if needed.
White Chocolate Tip
White chocolate seizes easily if it gets water in it. Make sure your bowl is completely dry. Also, don’t overheat it in the microwave. 30-second bursts are enough.
Variations & Substitutions
Once you’ve nailed the basic version, here’s how you can mix it up. I’ve tried all of these.
Chocolate Chip Version
Skip the pumpkin spice and add ½ cup of mini chocolate chips to the marshmallow mix before adding the cereal. Drizzle with milk chocolate instead of white.
Pumpkin Spice Latte Style
Add 1 teaspoon of instant espresso powder to the marshmallow mixture. It enhances the pumpkin flavor without making it taste like coffee. Great for older kids and adults.
Gluten-Free
Use gluten-free Rice Krispies (there are several brands now) or crispy rice cereal. Everything else is naturally gluten-free. Just check your spice blend label.
Dairy-Free
Use dairy-free butter and dairy-free white chocolate chips. The texture might be slightly different, but it still works. I’ve used Miyoko’s butter and Enjoy Life chips with good results.
Mini Bites
Instead of pressing into a pan, roll the mixture into small balls and dip them in the white chocolate. These are perfect for lunchboxes or party favors.
Serving & Storage
How to Serve:
I serve these straight from the cutting board at room temperature. They’re best when they’re soft and chewy. I usually pair them with a glass of cold milk or a cup of hot apple cider. For a fancy touch, serve them on a platter with a dusting of powdered sugar.
Storage Instructions:
Store in an airtight container at room temperature for up to 5 days. They do not need to be refrigerated. If you refrigerate them, they might become too hard. If you want to keep them longer, you can freeze them. Place them in a single layer in a freezer-safe container, separated by parchment paper. They’ll last for up to 3 months. Thaw at room temperature before eating.
Reheating:
You don’t need to reheat these. But if you want them warm, microwave a piece for 10-15 seconds. It will make the marshmallow gooey again.
Nutrition Information
I’m not a nutritionist, but here’s the breakdown if you’re tracking. Please remember this is an estimate.
Per Serving (based on 16 bars):
– Calories: 180
– Protein: 2g
– Carbs: 32g
– Fiber: 0g
– Sugar: 22g
– Fat: 6g
– Saturated Fat: 3g
– Cholesterol: 10mg
– Sodium: 60mg
What’s Good:
– It’s a small treat. One bar is a reasonable portion.
– No artificial colors in the basic version.
What to Know:
– High in sugar from marshmallows and white chocolate.
– Low in protein and fiber.
– Not suitable for diabetics without modification.
My Take:
Look, this is a treat. It’s supposed to be sweet and fun. It’s not a health food. But it’s way better than store-bought candy bars because you know exactly what’s in it. When I make these, I focus on the fun of making them, not the calories. Enjoy a piece or two and move on.
Final Thoughts
So that’s my go-to pumpkin spice Rice Krispie treats! I’ve probably talked your ear off at this point, but when you make a recipe this often, you have a lot to say about it. This has saved our fall evenings more times than I can count. It’s my answer to “what are we doing today?” when we want to stay in and cook together.
My kids are happy because they get to be in charge. I’m happy because the house smells amazing and we’re spending quality time together. It’s simple, it’s sweet, and it’s full of love. Make it yours! Try different toppings, adjust the spice, or just stick to the classic. The best recipes are the ones you adapt to your family’s tastes.
If you make this, drop a comment and let me know what you think! I love hearing how recipes turn out in your kitchen. And if something doesn’t work, tell me that too—I’m here to help troubleshoot.
Happy cooking! And I hope your kitchen smells half as good as mine does right now.
Frequently Asked Questions
Q: Can I use mini marshmallows?
A: You can, but it takes longer to melt them. You’ll need about 5-6 cups of mini marshmallows to equal the volume of large ones. Stirring takes about 5-6 minutes instead of 3. It works fine, just be patient.
Q: Why are my treats too hard?
A: This usually happens if you press them down too hard or if you cook the marshmallows too long, evaporating too much moisture. Make sure to press gently and evenly. Also, ensure you’re using fresh marshmallows—old ones don’t melt as well.
Q: Can I make these ahead for a party?
A: Yes! Make them 2 days ahead and store in an airtight container. The flavors actually meld together and taste better the next day. Just add the white chocolate drizzle right before serving so it doesn’t get sticky.
Q: My white chocolate seized up. What happened?
A: Water got into the chocolate. Even a drop can cause it to clump. Make sure your bowl is completely dry. If it seizes, add a teaspoon of vegetable oil or shortening and stir vigorously. It might not be perfectly smooth, but it will still drizzle.
Q: Can I use cinnamon instead of pumpkin pie spice?
A: You can, but it won’t taste the same. Pumpkin pie spice has nutmeg, ginger, and allspice which give it that warm fall flavor. If you only have cinnamon, use 1 teaspoon cinnamon and add a pinch of nutmeg and ginger. It’s not authentic, but it’s close.
Q: How do I cut clean squares?
A: Use a sharp serrated knife. Clean the blade with a paper towel between cuts. If the treats are still a bit soft, put them in the fridge for 10 minutes to firm up before cutting.
Q: Can I add nuts?
A: Absolutely! Toasted pecans or walnuts are delicious in these. Add ½ cup of chopped nuts when you add the cereal. It adds a nice crunch and balances the sweetness.
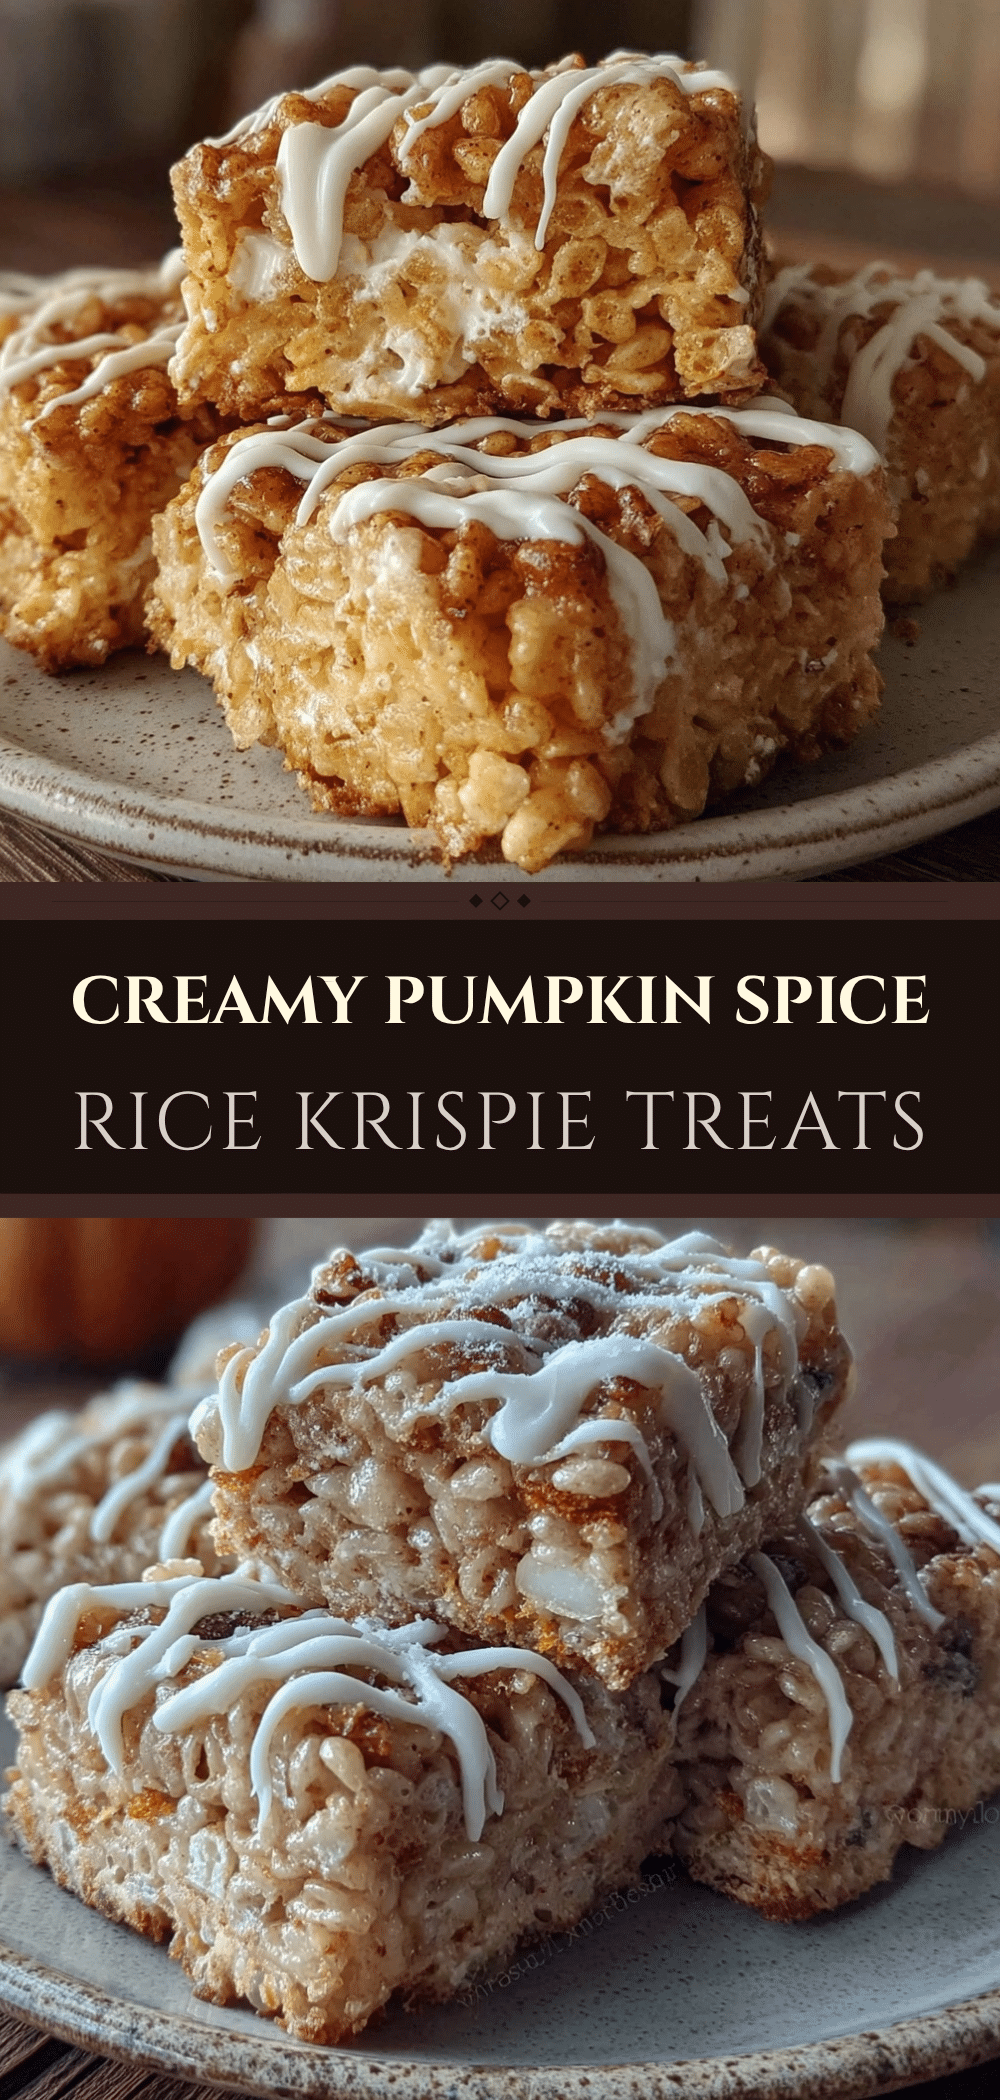
Pin This Recipe!
Pumpkin Spice Rice Krispie Treats with White Chocolate Drizzle
- Total Time: 45 minutes
- Yield: 16 servings 1x
Description
A kid-friendly, no-bake fall treat that combines classic Rice Krispies with warm pumpkin spice and a sweet white chocolate drizzle. Perfect for family cooking projects.
Ingredients
- 6 tablespoons unsalted butter
- 10 oz (about 3.5 cups) large marshmallows
- 6 cups Rice Krispies cereal
- 2 teaspoons pumpkin pie spice
- 1 teaspoon vanilla extract
- 1 pinch salt
- 1 tablespoon heavy cream or milk
- ½ cup white chocolate chips
- Optional: Mini pumpkin candies or sprinkles for decoration
Instructions
- Line an 8×8 inch baking pan with parchment paper and lightly grease with butter or cooking spray.
- In a large saucepan over medium-low heat, melt the butter. Add the marshmallows and stir constantly until completely melted and smooth (about 3-4 minutes). Do not walk away.
- Remove the pan from heat. Immediately stir in the pumpkin pie spice, vanilla extract, and salt until fully incorporated.
- Add the Rice Krispies cereal to the marshmallow mixture. Gently fold with a silicone spatula until every piece is coated evenly.
- Transfer the mixture to the prepared pan. Spray hands with cooking spray or butter them, then press the mixture down firmly and evenly into the pan.
- Let the treats cool completely at room temperature for about 30 minutes.
- While treats cool, melt white chocolate chips and heavy cream in a microwave-safe bowl in 30-second intervals, stirring until smooth.
- Transfer the melted chocolate to a Ziplock bag and snip off a corner to create a drizzle.
- Lift treats out of the pan, drizzle with white chocolate, and add optional decorations while chocolate is wet.
- Let chocolate set for 5 minutes, then cut into squares using a serrated knife.
Notes
Use low heat to melt marshmallows to prevent burning. Ensure hands are greased to prevent sticking when pressing treats. Do not cut treats while warm as they will be messy. White chocolate can seize if water gets in it, so ensure bowls are dry.
- Prep Time: 15 minutes
- Cook Time: 30 minutes
- Category: Dessert
- Cuisine: American
Nutrition
- Serving Size: 1 bar
- Calories: 180
- Sugar: 22
- Sodium: 60
- Fat: 6
- Saturated Fat: 3
- Carbohydrates: 32
- Protein: 2
Keywords: pumpkin spice, rice krispie treats, no bake, fall recipes, kid friendly, white chocolate drizzle, easy dessert, autumn treats


