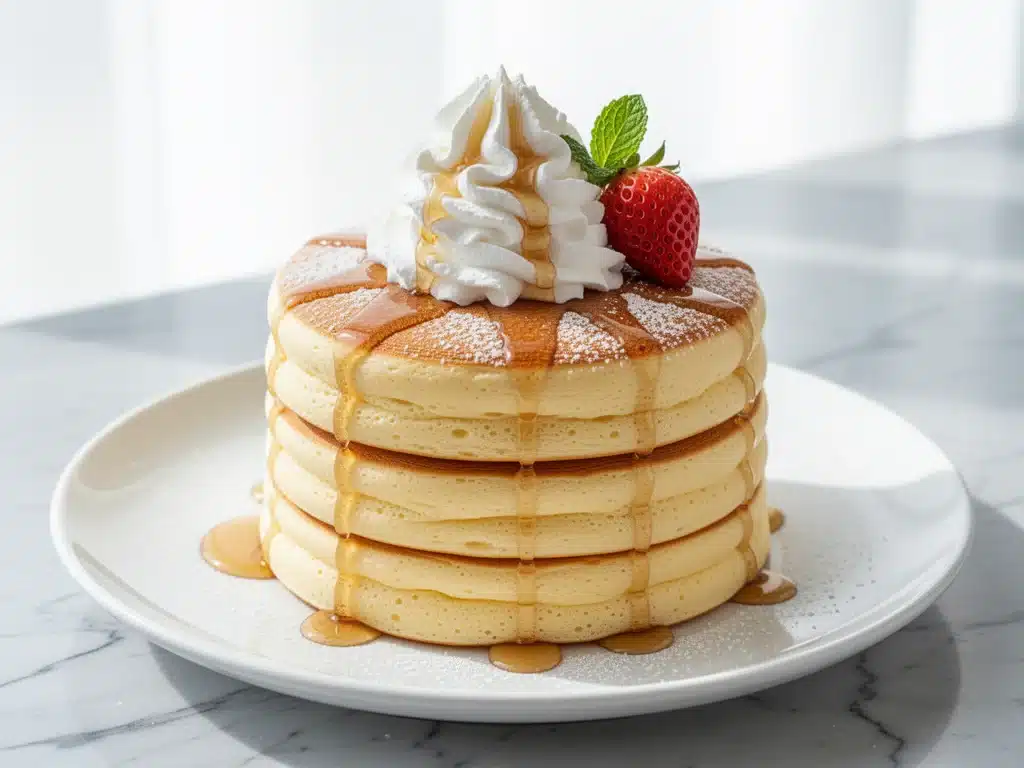
It was 10 AM on a rainy Saturday, and I was staring at the clock like it was personally offending me. I wanted that cafe experience—the kind where you order fluffy, jiggly pancakes that look like clouds and taste like sweet dreams—but I didn’t want to drive across town. I wanted to make it myself. So, I pulled up a recipe for Japanese Souffle Pancakes. I had high hopes. I really did.
My first attempt? A disaster. I got two dense, rubbery disks that looked more like hockey pucks than anything resembling a soufflé. My second attempt was better, but they collapsed the second I took them off the heat. I felt like I had failed basic chemistry. I almost gave up and just made the fluffy sheet pan pancakes instead. But something kept me going. I was obsessed with the idea of a pancake that actually bounced.
After three more attempts, a few burnt pans, and a lot of egg whites beaten until my arm ached, I finally nailed it. The secret isn’t magic—it’s patience and technique. These aren’t your typical Sunday morning pancakes. They require a little more effort, yes, but the payoff is worth every second. They are light, airy, and have this incredible custard-like texture that melts in your mouth. Plus, they look stunning on a plate, which makes you feel like a brunch pro even if you’re cooking in sweatpants.
I’ve made these at least a dozen times since that rainy Saturday. My family thinks I’ve joined a secret society of pastry chefs. They don’t need to know about the collapsed pancakes. What they know is that these ultra-fluffy Japanese souffle pancakes are now a weekend tradition. And if you’re willing to put in the 20 minutes of active work, I promise you’ll never go back to regular pancakes again.
Why You’ll Love This Recipe
There are plenty of pancake recipes out there, but this one is different. It’s not just about breakfast; it’s about the experience. Here’s why these Japanese souffle pancakes have taken over my kitchen:
- They Actually Soufflé — I’m not exaggerating. These pancakes rise up in the pan like a soufflé and then jiggle when you touch them. It’s the most satisfying cooking experience ever. I love that I can make something that looks like a fancy dessert for a simple breakfast.
- Texture That Defies Logic — The outside is slightly golden and soft, while the inside is moist, custardy, and airy. It’s like eating a cloud that’s been baked with sugar. It’s not dense or heavy like traditional buttermilk pancakes.
- Perfect for Show-Off Brunches — If you’re hosting guests, these are your best friend. Stack three high, drizzle with maple syrup, and top with fresh berries. They look incredible. I served these to my in-laws last month, and my mother-in-law asked if I bought them from a bakery. (I didn’t.)
- Customizable Toppings — Because they have a mild, sweet flavor, they take toppings beautifully. I love them with whipped cream and fruit, but they’re also great with Nutella or just a dusting of powdered sugar. It’s like a blank canvas for your sweet tooth.
- Impress Without Stress — Sure, you have to whip egg whites, but once you get the hang of it, it’s rhythmic and calming. It’s a nice break from the chaos of weekday mornings. It’s a “treat yourself” recipe.
This is the recipe I make when I want to feel fancy but stay home. It’s comforting, it’s fun, and it makes your kitchen smell like a patisserie. If you’ve ever wanted to master a slightly more advanced breakfast dish, this is the one to start with.
Ingredients You’ll Need
Here’s the good news: you don’t need any fancy equipment or obscure ingredients. The magic here is in the technique, not the shopping list. I’m particular about a few things, but mostly, this is simple pantry stuff.
For the Pancake Batter
Egg yolks (4 large, room temperature) — I separate these carefully. If even a drop of yolk gets into the whites, they won’t whip up. Room temperature yolks incorporate easier into the batter.
Milk (3 tablespoons / 45ml) — I use whole milk for richness, but 2% works fine too. Don’t use skim; you want that fat content for tenderness.
Vegetable oil (1 tablespoon / 15ml) — I use a neutral oil like canola or grapeseed. Olive oil is too strong for this delicate flavor. Melted butter works too, but oil keeps them softer.
Vanilla extract (1 teaspoon) — Pure vanilla makes a huge difference. I skip the imitation stuff here because the flavor is subtle.
All-purpose flour (2.5 tablespoons / 20g) — Sift this! I know it’s extra work, but sifting removes lumps and aerates the flour, which helps with the light texture. Cake flour is even better if you have it, but AP works.
Cornstarch (1 tablespoon / 8g) — This is the secret weapon. Cornstarch weakens the gluten structure, making the pancakes softer and more tender. Don’t skip it.
Sugar (3 tablespoons / 35g) — Granulated white sugar. I’ve tried brown sugar, but it changes the color and adds a molasses flavor that doesn’t fit here. Keep it white for that classic look.
Cream of tartar (½ teaspoon) — This stabilizes the egg whites. It helps them hold their shape so the pancakes don’t deflate while cooking. You can use lemon juice, but cream of tartar is more reliable.
Egg whites (4 large, room temperature) — The star of the show. They need to be whipped to stiff peaks. Make sure your bowl is completely clean and grease-free.
For Cooking
Butter (for greasing) — I use a little butter to grease the pan. It adds flavor and helps with browning. Use a paper towel to wipe out excess so it’s not greasy.
Water (2-3 tablespoons) — You’ll add this to the pan to create steam. This is crucial for cooking the inside without burning the outside.
Equipment Needed
You don’t need a fancy kitchen, but a few specific tools will make your life easier.
Non-stick skillet — A 6-inch or 8-inch non-stick pan is ideal. I use a 6-inch for individual pancakes because it’s easier to control the heat. If you only have a large 12-inch pan, you can do them, but the heat distribution might be uneven. Ceramic non-stick is best.
Hand mixer or stand mixer — Whipping egg whites by hand is possible but exhausting. A hand mixer makes it quick and easy. I use my KitchenAid, but a cheap hand mixer works just as well.
Spatula — You need a flexible silicone spatula for folding the egg whites into the batter. You also need a metal spatula for flipping. The metal one is sturdy enough to slide under the delicate pancake.
Sifter or fine-mesh strainer — For sifting the flour and cornstarch. This step is non-negotiable for smooth batter.
Clean glass or metal bowl — For whipping the egg whites. Make sure it’s bone-dry and grease-free. Even a tiny bit of oil will prevent the whites from whipping up.
Small ladle or measuring cup — For portioning the batter evenly. Consistency is key so they all cook at the same rate.
How to Make It: Step-by-Step
Alright, let’s make these! I’m walking you through exactly how I do it, including the little tricks I’ve picked up along the way.
Step 1: Prep Your Ingredients (5 minutes)
Separate your eggs. Put the yolks in one bowl and the whites in another. Make sure the bowl for the whites is completely clean. Sift the flour and cornstarch together into a small bowl. Measure out your milk, oil, and vanilla. Have everything ready before you start mixing.
Step 2: Make the Yolk Batter (5 minutes)
In the bowl with the egg yolks, whisk in the milk, oil, and vanilla extract until smooth. Sift the flour and cornstarch mixture into the yolk bowl. Whisk gently until just combined. It’s okay if there are a few small lumps. Set this aside.
Step 3: Whip the Egg Whites (3-5 minutes)
This is the most important step. Using a hand mixer, beat the egg whites on medium-high speed until they become frothy. Add the cream of tartar. Continue beating until soft peaks form (the whites hold their shape but droop slightly). Gradually add the sugar while beating. Continue until stiff, glossy peaks form. The whites should stand up straight when you lift the beaters. Do not overbeat until they look dry and crumbly.
Step 4: Fold the Batter (3 minutes)
Add one-third of the whipped egg whites to the yolk batter. Whisk vigorously to lighten the batter. Then, gently fold in the remaining whites using a spatula. Use a cutting motion, folding from the bottom up and turning the bowl. Stop as soon as the whites are incorporated. Do not overmix, or you’ll deflate the air you just whipped in.
Step 5: Cook the Pancakes (10-12 minutes)
Heat your non-stick skillet over low-medium heat. Grease lightly with butter. Ladle about ¼ cup of batter into the pan for each pancake. You should see them rise slightly. Cover the pan with a lid. Add 2-3 tablespoons of water to the side of the pan (not directly on the pancake) to create steam. Cook for 6-7 minutes. Do not touch them!
Step 6: Flip and Finish (3-4 minutes)
Check if the bottom is golden brown. Carefully flip the pancakes. They are fragile, so go slow. Add a little more water to the pan if needed, cover, and cook for another 3-4 minutes. The steam will cook the inside. Remove the lid and let them sit for a minute to crisp up the bottom slightly.
Step 7: Serve Immediately
Transfer to a plate. They will deflate slightly as they cool, which is normal. Stack them high and add your toppings. Eat them right away while they’re warm and jiggly.
Expert Tips & Tricks
Here’s everything I’ve learned from making these dozens of times. These tips will save you from my mistakes.
Room Temperature Eggs — Room temperature egg whites whip up to a greater volume than cold ones. Take them out of the fridge 30 minutes before you start. If you forget, you can warm the bowl in a sink of warm water for a minute.
Stiff Peaks are Non-Negotiable — If your egg whites are under-whipped, the pancakes will be flat. If they’re over-whipped, the batter will be grainy. Aim for stiff, glossy peaks that don’t droop.
Low and Slow Heat — This is the biggest mistake people make. If the heat is too high, the outside burns before the inside cooks. Keep the heat low. If you’re worried, test the pan with a drop of water—it should sizzle gently, not roar.
Don’t Peek Too Much — Keep the lid on! The steam is what cooks the inside. If you lift the lid too early, the temperature drops, and the pancakes might collapse. Trust the process.
Use a Smaller Pan — I can’t stress this enough. A 6-inch pan is perfect for individual pancakes. If you use a large pan, the heat distribution is uneven, and the pancakes might not rise properly. You can also use a mini-muffin tin in the oven for a different method, but the stovetop is classic.
Pro Trick: The Lid Test — If your pan doesn’t have a tight-fitting lid, use foil to cover it. You need to trap that steam.
Variations & Substitutions
Once you’ve nailed the basic version, here’s how you can mix it up. I’ve tried all of these.
Berry Infused — Fold in fresh or frozen blueberries, raspberries, or strawberries into the batter right before cooking. The berries add bursts of flavor and look beautiful.
Matcha Green Tea — Replace 1 teaspoon of the flour with matcha powder. It adds a subtle earthy flavor and a gorgeous green color. I love this with white chocolate chips.
Cocoa Powder — Replace 1 tablespoon of flour with unsweetened cocoa powder for chocolate souffle pancakes. Add chocolate chips for extra richness.
Gluten-Free — Use a 1:1 gluten-free flour blend. The texture might be slightly denser, but it still works. I’ve used Bob’s Red Mill, and it’s fine.
Dairy-Free — Swap the milk for almond or oat milk, and use oil instead of butter. The result is still fluffy and delicious.
Vegan — This is harder because of the egg whites, but you can use aquafaba (the liquid from a can of chickpeas) instead of egg whites. Whip it with cream of tartar and sugar just like eggs. It works surprisingly well!
Serving & Storage
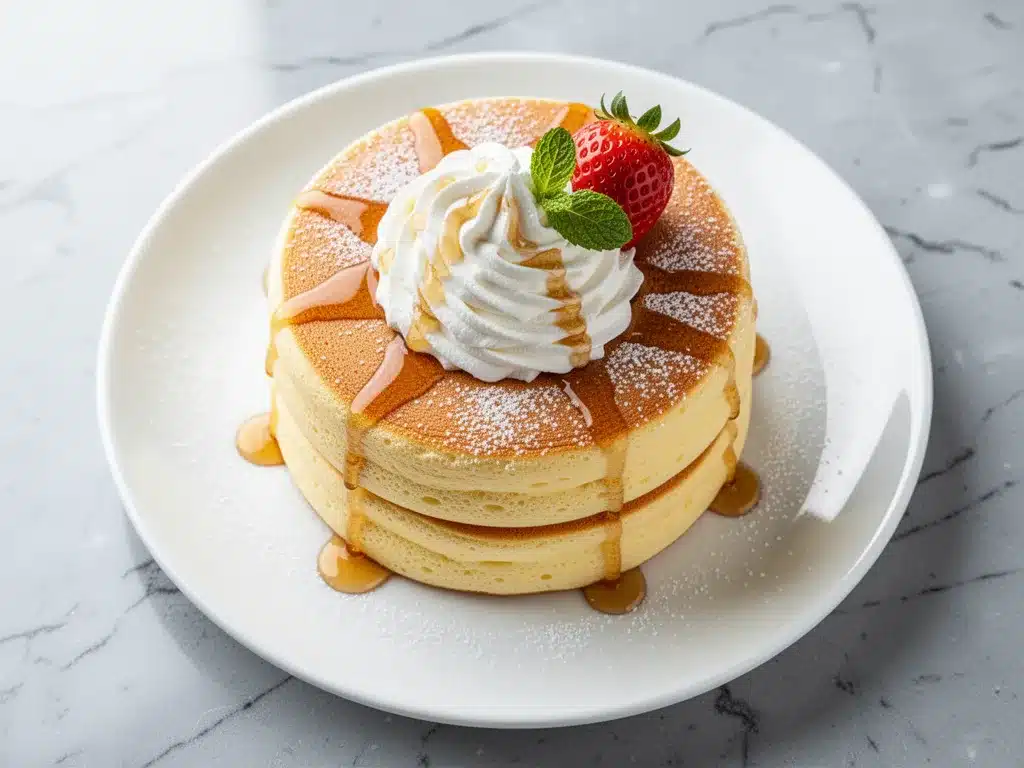
How to Serve: I usually serve these straight from the pan, stacked high. They look best with a dusting of powdered sugar and a dollop of whipped cream. Fresh berries are a must. I also love a drizzle of pure maple syrup or honey. For a fancy touch, add a mint leaf on top.
Side Dishes: These pancakes are rich, so they pair well with lighter sides. I like them with crispy bacon or sausage links. A simple green salad with a vinaigrette cuts through the sweetness. Coffee or tea is the obvious drink choice.
Storage: Honestly, these are best eaten immediately. They don’t reheat well because the texture changes. If you have leftovers, store them in an airtight container in the fridge for up to 2 days. Reheat gently in a toaster or oven to restore some crispness. They won’t be as fluffy, but they’re still tasty.
Freezing: You can freeze them, but thawing can make them soggy. If you must freeze, thaw in the toaster oven. I don’t recommend freezing the batter.
Nutrition Information
I’m not a nutritionist, but here’s the breakdown if you’re tracking. Keep in mind that these are indulgent pancakes, so they’re higher in calories than a typical whole-grain option.
Per Serving (based on 4 pancakes, 1 stack):
- Calories: 280
- Protein: 8g
- Carbs: 35g
- Fiber: 1g
- Sugar: 20g
- Fat: 12g
- Saturated Fat: 3g
- Cholesterol: 110mg
- Sodium: 150mg
What’s Good: They’re a good source of protein from the eggs. They’re also relatively low in sodium if you don’t add extra salt.
What to Know: The sugar content is moderate, mostly from the whipped egg whites. The fat comes from the yolks and oil. It’s a treat, so enjoy it as part of a balanced brunch.
My Take: Look, these aren’t a health food. They’re a dessert for breakfast. But they’re made from scratch with simple ingredients, which is better than anything from a box. When I make them, I focus on the joy of eating something special. If you want to lighten it up, use less sugar and skip the whipped cream. But usually? I just enjoy every bite.
Final Thoughts
So that’s my take on ultra-fluffy Japanese souffle pancakes! I’ve probably talked your ear off at this point, but when you make a recipe this often, you have a lot to say about it.
These pancakes have become my weekend ritual. They slow me down. They make me focus. And they reward me with something truly special. My kids are obsessed with the “jiggly” factor, and my husband loves how light they are. It’s a win-win.
Make it yours! Try different toppings, experiment with matcha or cocoa, or just enjoy them plain with syrup. The best recipes are the ones you adapt to your family’s tastes. If you try this, drop a comment and let me know how they turned out! I love hearing your stories. And if something doesn’t work, tell me that too—I’m here to help troubleshoot.
Happy cooking! I hope your kitchen smells as good as mine does right now.
Frequently Asked Questions
Why did my pancakes collapse?
This usually happens if the egg whites weren’t whipped to stiff peaks, or if you overmixed the batter after folding in the whites. It can also happen if the heat was too high, causing them to rise too fast and then fall. Make sure you’re gentle when folding and keep the heat low.
Can I make the batter ahead of time?
No. The egg whites will deflate if you let the batter sit. You need to cook them immediately after folding in the whites. The magic is in the fresh air bubbles.
Can I use a cast iron skillet?
You can, but cast iron retains heat differently. You might need to adjust the temperature. Start with low heat and see how it goes. A non-stick skillet is easier for beginners because it’s more forgiving.
How do I get them to stack high?
Use a smaller pan (6-inch) and don’t overcrowd the pan. Cook them in batches if needed. Also, make sure your egg whites are whipped perfectly—this is the main factor in height.
Can I freeze the batter?
No, the egg whites will lose their volume. Freeze the cooked pancakes instead, and reheat in a toaster oven.
What’s the best topping?
I love fresh berries and whipped cream. But they’re also great with Nutella, peanut butter, or just pure maple syrup. The mild flavor pairs with almost anything sweet.
Can I make these in the oven?
Yes! Pour the batter into a greased mini-muffin tin and bake at 350°F (175°C) for 15-20 minutes. They won’t have the same steam-cooked texture, but they’re still fluffy and delicious. This is a good alternative if you’re feeding a crowd.
Pin This Recipe!
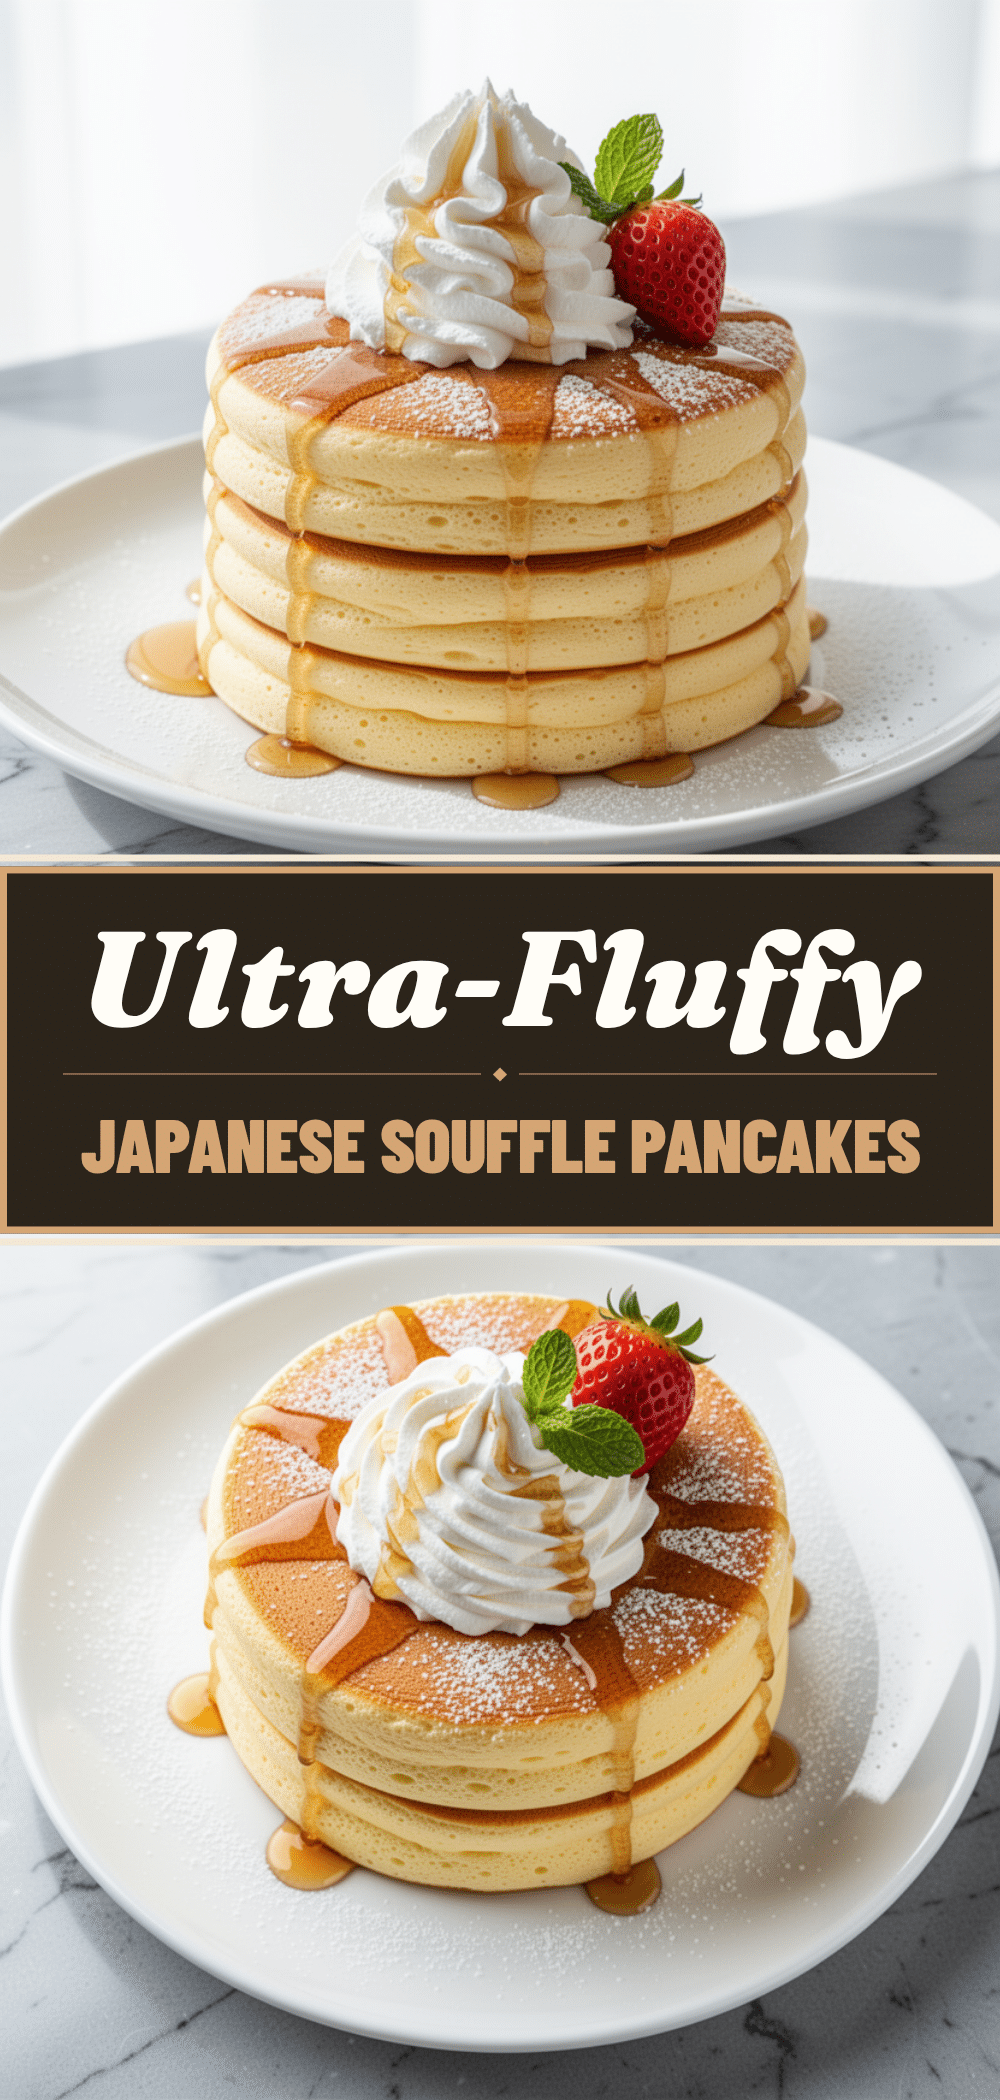
Japanese Souffle Pancakes: Easy Brunch Recipe
- Total Time: 30 minutes
- Yield: 4 servings 1x
Description
Ultra-fluffy, jiggly Japanese souffle pancakes that require patience and technique but deliver a light, custardy texture perfect for a special brunch.
Ingredients
- 4 large egg yolks (room temperature)
- 3 tablespoons whole milk
- 1 tablespoon vegetable oil
- 1 teaspoon vanilla extract
- 2.5 tablespoons all-purpose flour
- 1 tablespoon cornstarch
- 3 tablespoons granulated white sugar
- 1/2 teaspoon cream of tartar
- 4 large egg whites (room temperature)
- Butter (for greasing)
- 2–3 tablespoons water (for steam)
Instructions
- Separate eggs, ensuring the bowl for whites is completely clean and grease-free. Sift flour and cornstarch together.
- Whisk egg yolks with milk, oil, and vanilla until smooth. Sift flour/cornstarch mixture into yolks and whisk gently until combined.
- Beat egg whites on medium-high speed until frothy. Add cream of tartar and beat until soft peaks form. Gradually add sugar and beat until stiff, glossy peaks form.
- Whisk one-third of egg whites into yolk batter to lighten it. Gently fold in remaining whites using a spatula until just combined.
- Heat a 6-inch non-stick skillet over low-medium heat and grease lightly with butter. Ladle 1/4 cup batter into the pan.
- Cover the pan and add 2-3 tablespoons of water to the side to create steam. Cook for 6-7 minutes without touching.
- Check for golden brown bottom, then carefully flip. Add more water if needed, cover, and cook for another 3-4 minutes.
- Remove lid and let sit for a minute to crisp up. Serve immediately while warm and jiggly.
Notes
Room temperature eggs whip better. Do not overmix the batter after folding in egg whites to avoid deflating. Keep heat low to prevent burning before the inside cooks. Use a tight-fitting lid or foil to trap steam. Best eaten immediately as they deflate upon cooling.
- Prep Time: 15 minutes
- Cook Time: 15 minutes
- Category: Breakfast
- Cuisine: Japanese
Nutrition
- Serving Size: 1 stack of 4 pancake
- Calories: 280
- Sugar: 20
- Sodium: 150
- Fat: 12
- Saturated Fat: 3
- Carbohydrates: 35
- Fiber: 1
- Protein: 8
Keywords: Japanese souffle pancakes, fluffy pancakes, brunch recipe, easy breakfast, homemade pancakes, jiggly pancakes


