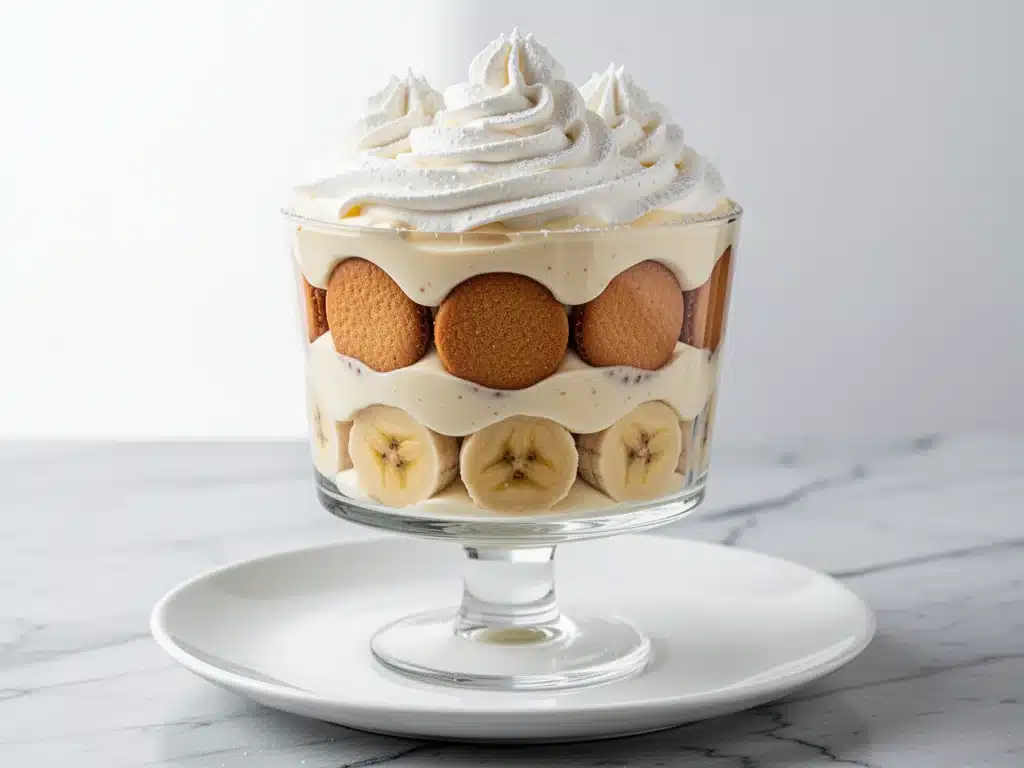
I still remember the exact moment I realized store-bought pudding was a lie. It was July of 2019, the kind of humid, sticky summer evening where the air feels like a wet blanket, and I was hosting a backyard BBQ for about fifteen people. I had planned to bring a fancy fruit tart, but somehow, in the chaos of grilling burgers and keeping mosquitoes at bay, I ended up with nothing but bananas, vanilla wafers, and a carton of heavy cream. Desperate, I threw together what I thought would be a mediocre, quick dessert. I didn’t even have the heart to tell my guests it was “homemade” until they were halfway through their second bowls.
That’s when I heard it. “Wait, you made this? It tastes like… actual pudding.” Not the chalky, artificial stuff from the grocery store aisle, but something rich, custardy, and impossibly smooth. That accidental bowl of dessert became the centerpiece of the party. People were asking for the recipe before the sun even set. Since then, I’ve made this ultra-creamy banana pudding for every summer gathering, picnic, and holiday dinner. It’s become my secret weapon for easy summer party desserts that actually impress.
There’s something magical about banana pudding. It tastes like nostalgia, like a hug from your grandmother, but with a level of creaminess that feels indulgent without being heavy. I’ve tested this recipe at least twenty times, tweaking the ratio of custard to cream, the type of bananas, and the baking technique, until I landed on the perfect balance. This isn’t just a dessert; it’s a crowd-pleaser that comes together in under thirty minutes of active work. If you’re looking for a dessert that’s easy to make but looks like you spent hours in the kitchen, this is it. It’s the kind of dish that disappears fast, so you’ll want to double the batch.
Why You’ll Love This Recipe
I’ve been making this banana pudding for years, and it has earned a permanent spot in my summer rotation. Here’s why it’s become the go-to dessert when I need to feed a crowd without losing my mind in the kitchen:
It’s Stupid Simple — Seriously, if you can whisk eggs and slice bananas, you can make this. There’s no fancy pastry cream technique, no tempering that requires a thermometer, and no special equipment. I’ve walked my teenage niece through making this over the phone while she was home alone. It just works.
Lightning Fast Prep — From start to finish, you’re looking at about 25 minutes of active hands-on time. The rest is chilling. This is perfect for those last-minute “oh no, I forgot to bring dessert” moments. I’ve pulled this together in the car ride to a potluck before setting it down on the table.
Texture That Melts in Your Mouth — This isn’t just whipped cream on top of cookies. I use a double-boiler method for the custard base, which creates a silky, dense texture that feels like professional pastry shop quality. The contrast between the soft, baked custard and the crunchy vanilla wafers is addictive.
Make-Ahead Friendly — Unlike other desserts that need to be served immediately, this one actually improves overnight. The flavors meld together, the bananas soften just right, and the pudding sets into a perfect sliceable consistency. I often make it the morning of the party so I can focus on the main course.
Customizable and Versatile — Want to add chocolate chips? Go for it. Swap vanilla wafers for graham crackers? Sure. Add a layer of cheesecake filling? Why not. This recipe is a canvas. I’ve made it with fresh strawberries for spring and even added a dash of bourbon for a grown-up twist.
This is my go-to when I want to bring something that feels special but requires zero stress. It’s reliable, delicious, and always gets compliments. No complicated techniques, no weird ingredients, just pure, creamy comfort.
Ingredients You’ll Need
Here’s the best part: you probably have most of these ingredients already. This recipe relies on simple, high-quality staples. I’m particular about three things here, and I’ll tell you exactly why they matter.
For the Custard Base:
Whole milk (3 cups / 720ml) — Use whole milk. Skim milk will make the pudding thin and watery. You want that rich, creamy mouthfeel. I buy organic if I can find it on sale, but regular whole milk works perfectly fine.
Heavy cream (1 ½ cups / 360ml) — This is the secret to the “ultra-creamy” texture. It adds body and richness that milk alone can’t achieve. Don’t try to substitute with half-and-half here; it won’t be thick enough. I keep a carton in the freezer (yes, really!) for emergencies, but fresh is best.
Egg yolks (6 large / about 100g) — We’re using yolks for richness and color. Whites would make it too airy. I separate them myself because I don’t trust pre-separated eggs as much, but if you’re in a rush, store-bought is fine. Save the whites for fudgy peanut butter brownies or meringues!
Granulated sugar (¾ cup / 150g) — Not too sweet, just enough to balance the tartness of the bananas. I use white sugar because it dissolves easily in the custard. Brown sugar would make it too molasses-heavy.
All-purpose flour (3 tablespoons / 24g) — This is what thickens the pudding. Cornstarch works too, but flour gives a more traditional, comforting texture. I sift it first to avoid lumps.
Unsalted butter (2 tablespoons / 30g) — Adds a glossy finish and richness. I use Kerrygold or any high-quality butter. Salted butter works if you reduce the added salt, but unsalted gives you more control.
Vanilla extract (2 teaspoons / 10ml) — Use real vanilla, not imitation. The flavor is the star here. I keep a bottle of Nielsen-Massey in my pantry. It’s pricier, but the difference is night and day.
For the Layers:
Ripe bananas (4 large / about 500g) — This is crucial. They need to be yellow with a few brown spots. Underripe bananas are too starchy and bland. Overripe (all brown) are too mushy. I look for that perfect “just right” ripeness.
Vanilla wafers (1 package / 15.25 oz) — Nilla Wafers are the classic choice. They hold up well and have the right sweetness. I’ve tried store-brand versions, but they tend to get soggy too fast. Stick with the name brand.
Optional Add-ins:
Whipped cream — For serving. I make my own by whipping heavy cream with a little sugar and vanilla, but store-bought works if you’re lazy.
Chocolate chips — Mini semi-sweet chocolate chips add a nice crunch and bitter contrast. I sprinkle them between layers sometimes.
Maraschino cherries — A classic topping for a pop of color. Not my personal favorite, but my kids love them.
Equipment Needed
You don’t need fancy equipment for this. Here’s what I actually use:
Double boiler or heatproof bowl — I use a stainless steel bowl set over a pot of simmering water. This prevents the eggs from scrambling. If you don’t have one, just use a heavy-bottomed saucepan on low heat, but watch it like a hawk.
Whisk — A good silicone whisk is best. It scrapes the sides of the bowl and incorporates air. I have an old one from IKEA that’s seen better days, but it still works great.
Measuring cups and spoons — Standard stuff. Dollar store versions work fine for this.
9×13 inch baking dish — Glass or ceramic. I prefer Pyrex because I can see the layers. It needs to be large enough to hold three layers without overflowing.
Spatula — For folding the whipped cream and spreading the custard. Silicone is best.
Knife — For slicing bananas. A serrated knife works best to avoid crushing them.
Mixer — Hand mixer or stand mixer for whipping the cream. I use my hand mixer because it’s faster for small batches.
Measuring cups (liquid) — For the milk and cream.
Colander — Not strictly necessary, but handy for rinsing bananas if you’re worried about pesticides.
How to Make It: Step-by-Step
Alright, let’s make this! I’m walking you through exactly how I do it, including the little tricks I’ve picked up.
Step 1: Prepare the Custard Base (15 minutes)
First, whisk together the egg yolks and sugar in your heatproof bowl until pale and thick, about 2 minutes. This incorporates air and helps the custard set. Then, whisk in the flour until smooth. Slowly pour in the milk, whisking constantly to prevent lumps. Place the bowl over a pot of simmering water (make sure the bottom doesn’t touch the water). Cook, stirring constantly with a silicone spatula, for about 8-10 minutes. The mixture will thicken to the consistency of pudding. It’s done when it coats the back of a spoon and you can draw a line through it that stays. Remove from heat and stir in the butter and vanilla. Cover with plastic wrap (touching the surface to prevent a skin) and let it cool to room temperature.
Step 2: Whip the Cream (5 minutes)
In a separate large bowl, whip the heavy cream until stiff peaks form. You want it firm enough to hold its shape but not over-whipped into butter. I add a tablespoon of sugar and a teaspoon of vanilla here for extra flavor. Set aside.
Step 3: Slice the Bananas
Peel and slice the bananas into ¼-inch rounds. I like to toss them with a little lemon juice to prevent browning, though it’s optional. The acidity helps keep them bright yellow.
Step 4: Assemble the Layers (10 minutes)
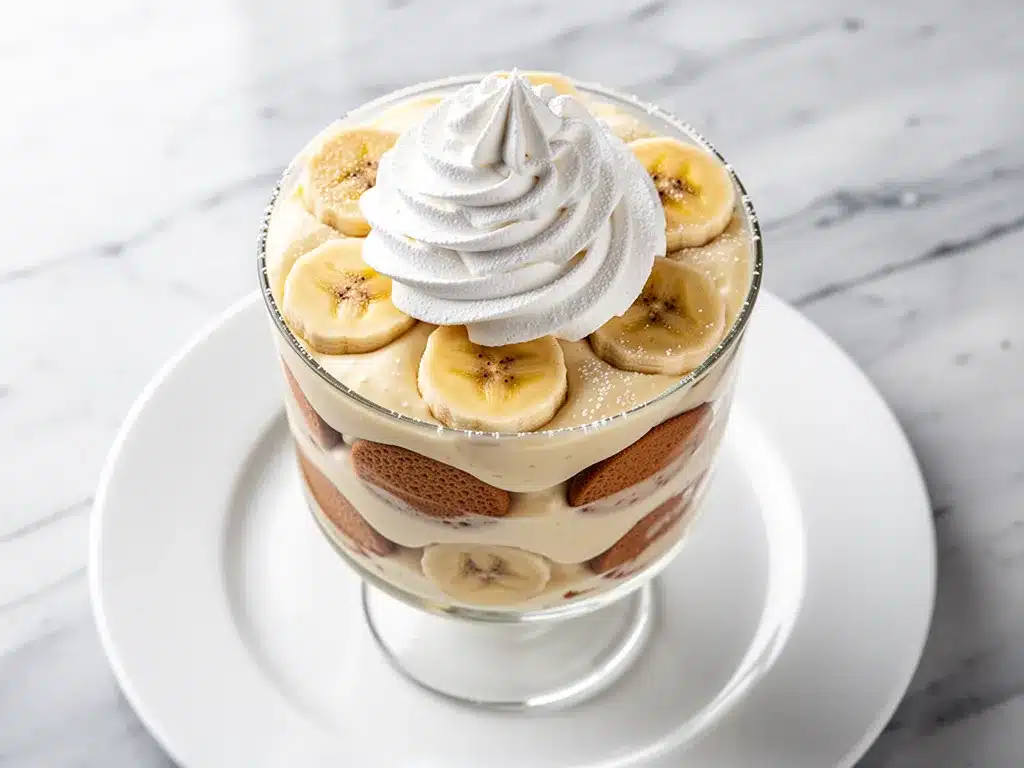
Start with a thin layer of vanilla wafers at the bottom of your 9×13 dish. Then, spread half of the cooled custard over the wafers. Arrange half of the banana slices over the custard. Sprinkle with a handful of chocolate chips if using. Repeat with another layer of wafers, remaining custard, and remaining bananas. Top with a final layer of wafers.
Step 5: Chill and Set (4 hours minimum)
Cover the dish tightly with plastic wrap or foil. Refrigerate for at least 4 hours, preferably overnight. This is the most important step—the wafers need time to soften and absorb the custard. If you’re impatient, you’ll get soggy, disjointed layers. Patience pays off.
Step 6: Serve
Serve chilled, topped with a dollop of whipped cream and a cherry if you like. Slice with a sharp knife for clean portions.
Expert Tips & Tricks
Here’s everything I’ve learned from making this dozens of times. These tips will save you from my mistakes.
Don’t Rush the Custard — The custard needs to be thick enough to hold its shape. If it’s too thin, the pudding will be soupy. Use a thermometer if you have one; aim for 170°F (77°C). If you don’t, the “spoon test” is your friend.
Use Ripe Bananas — This cannot be overstated. Underripe bananas are bland and hard. Ripe bananas are sweet and soft. Look for yellow skins with brown speckles.
Prevent Soggy Wafers — If you’re serving immediately, the wafers might be too hard. If you’re serving later, they might be too soft. The sweet spot is 4-6 hours. If you’re making it a day ahead, the wafers will be perfectly soft and cake-like.
Keep Bananas from Browning — Tossing them with a little lemon juice or pineapple juice helps. It’s subtle and doesn’t change the flavor much.
Whip Cream Consistency — Don’t over-whip. Soft peaks are too loose; stiff peaks are perfect. If you over-whip, it becomes grainy. Add a tablespoon of milk if it gets too stiff.
Common Mistakes:
Mistake: Custard is lumpy — Fix: Whisk constantly over low heat. If lumps form, strain the custard through a fine-mesh sieve before cooling.
Mistake: Pudding is watery — Fix: You didn’t cook the custard long enough, or the bananas released too much water. Use less watery bananas and cook the custard until thick.
Mistake: Wafers are soggy — Fix: You assembled it too far in advance. Or you used too much custard. Balance the layers.
Variations & Substitutions
Once you’ve nailed the basic version, here’s how you can mix it up. I’ve tried all of these.
Chocolate Banana Pudding — Add ½ cup cocoa powder to the custard base. It’s rich and decadent.
Butterscotch Banana Pudding — Swap the sugar for brown sugar and add a teaspoon of butterscotch extract. Tastes like a caramel banana.
Coconut Banana Pudding — Use coconut milk instead of regular milk. Top with toasted coconut flakes. Tropical vibes.
Bourbon Banana Pudding — Add 2 tablespoons of bourbon to the custard. Grown-up and delicious.
Gluten-Free — Use gluten-free vanilla wafers. Everything else is naturally gluten-free.
Dairy-Free — Use coconut cream instead of heavy cream and dairy-free milk. It’s different but still creamy.
Vegan — Use aquafaba (chickpea water) to whip the cream and cornstarch-thickened coconut milk for the custard. It’s surprisingly close to the real thing.
Serving & Storage
How to Serve:
I usually serve this straight from the fridge. It’s cold, creamy, and refreshing. For a party, I put it in a clear glass dish so people can see the layers. It looks beautiful.
Side Dishes:
This pairs well with grilled meats like crispy honey garlic salmon bites or mediterranean chicken skillet. The sweetness balances the savory main course.
Storage Instructions:
Refrigerator: Store in an airtight container for up to 3 days. The wafers will continue to soften, so it gets creamier over time.
Freezing: I don’t recommend freezing this. The bananas turn mushy, and the custard separates. Make it fresh.
Reheating: Don’t reheat this. It’s a cold dessert. Just eat it cold.
Nutrition Information
I’m not a nutritionist, but here’s the breakdown if you’re tracking.
Per Serving (based on 12 servings):
- Calories: 380
- Protein: 6g
- Carbs: 45g
- Fiber: 2g
- Sugar: 28g
- Fat: 20g
- Saturated Fat: 12g
- Cholesterol: 120mg
- Sodium: 180mg
What’s Good: It’s a treat, so don’t expect it to be health food. But it does have some protein from the eggs and dairy. The bananas add potassium.
What to Know: High in sugar and saturated fat. Enjoy in moderation. If you want to lighten it up, use less cream and more fruit.
Final Thoughts
So that’s my go-to ultra-creamy banana pudding! I’ve probably talked your ear off at this point, but when you make a recipe this often, you have a lot to say about it. This has saved summer parties more times than I can count. It’s my answer to “what’s for dessert” when I’m tired, don’t want takeout, and still want something that tastes really good. My kids are happy, my guests are happy, and I’m happy because I’m not stressed about cooking.
Make it yours! Try different add-ins, swap in your favorite cookies, adjust the sweetness. The best recipes are the ones you adapt to your family’s tastes. If you make this, drop a comment and let me know what you think! I love hearing how recipes turn out in your kitchen. And if something doesn’t work, tell me that too—I’m here to help troubleshoot.
Happy cooking! And I hope your kitchen smells half as good as mine does right now.
Frequently Asked Questions
Can I use instant pudding mix?
You can, but it won’t be as creamy or fresh-tasting. The homemade custard base makes all the difference. If you’re short on time, you can use a mix, but I’d still recommend whipping fresh cream and folding it in for texture.
Why did my pudding turn out watery?
Usually, this means the custard wasn’t cooked long enough to thicken, or the bananas released too much liquid. Make sure your custard is thick enough to hold its shape before assembling. Also, use bananas that aren’t overly ripe.
Can I make this ahead for a dinner party?
Absolutely! This is even better the next day. Make it 24 hours ahead and let it chill in the fridge. The flavors will meld, and the wafers will be perfectly soft. Just add fresh whipped cream right before serving.
How do I prevent the bananas from browning?
Toss the sliced bananas with a little lemon juice or pineapple juice. The acid slows down the oxidation process. It’s subtle and doesn’t change the flavor much.
Can I freeze this pudding?
I don’t recommend it. The bananas will turn mushy, and the custard will separate when thawed. It’s best enjoyed fresh or chilled for a day or two.
Can I use graham crackers instead of vanilla wafers?
Yes! Graham crackers work well and add a slightly different texture. I’ve also used shortbread cookies, which are richer and buttery. Experiment and see what you like.
Can I make this dairy-free?
Yes, use coconut cream instead of heavy cream and coconut milk for the custard. It will have a coconut flavor, which pairs well with bananas. You can also use dairy-free vanilla wafers.
Pin This Recipe!
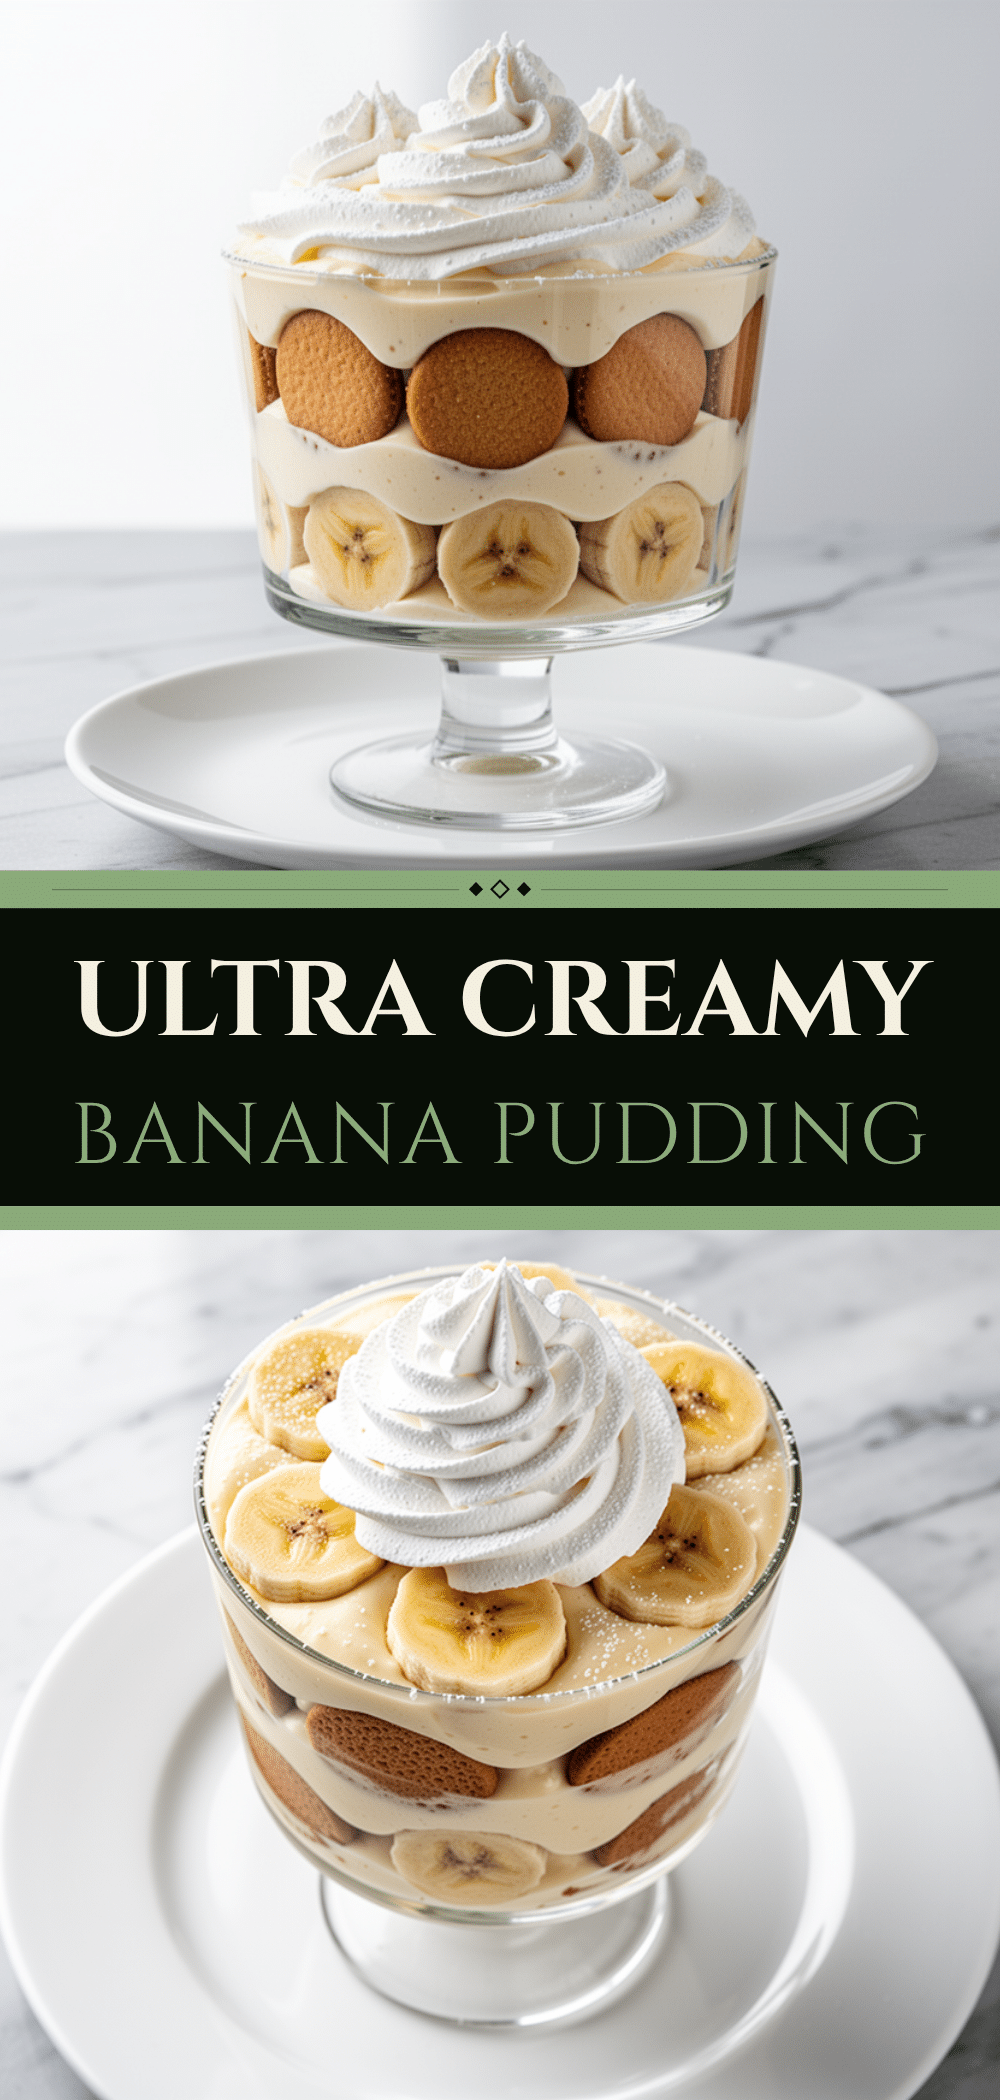

Perfect Banana Pudding: Easy Summer Party Dessert
- Total Time: 4 hours 40 minutes
- Yield: 12 servings 1x
Description
An ultra-creamy, homemade banana pudding that combines a rich custard base with vanilla wafers and ripe bananas. This make-ahead dessert is perfect for summer parties and requires no fancy equipment.
Ingredients
- 3 cups whole milk
- 1 ½ cups heavy cream
- 6 large egg yolks
- ¾ cup granulated sugar
- 3 tablespoons all-purpose flour
- 2 tablespoons unsalted butter
- 2 teaspoons vanilla extract
- 4 large ripe bananas
- 1 package (15.25 oz) vanilla wafers
- Optional: Whipped cream, chocolate chips, maraschino cherries
Instructions
- Whisk egg yolks and sugar in a heatproof bowl until pale and thick (about 2 minutes).
- Whisk in flour until smooth, then slowly pour in milk while whisking constantly.
- Place the bowl over a pot of simmering water (double boiler method) and cook, stirring constantly, for 8-10 minutes until the mixture thickens and coats the back of a spoon.
- Remove from heat and stir in butter and vanilla. Cover with plastic wrap touching the surface and let cool to room temperature.
- In a separate bowl, whip heavy cream until stiff peaks form.
- Peel and slice bananas into ¼-inch rounds.
- In a 9×13 inch baking dish, create layers: start with vanilla wafers, spread half the cooled custard, add half the bananas, and repeat layers. Top with remaining wafers.
- Cover tightly and refrigerate for at least 4 hours, preferably overnight, to allow wafers to soften.
- Serve chilled, topped with whipped cream and optional garnishes.
Notes
Use ripe bananas with yellow skins and brown speckles for best flavor. Prevent bananas from browning by tossing with a little lemon juice. The pudding improves overnight as flavors meld. Do not freeze as bananas become mushy and custard separates. Ensure custard is thick enough to hold its shape before assembling to avoid watery pudding.
- Prep Time: 25 minutes
- Cook Time: 15 minutes
- Category: Dessert
- Cuisine: American
Nutrition
- Serving Size: 1 slice
- Calories: 380
- Sugar: 28
- Sodium: 180
- Fat: 20
- Saturated Fat: 12
- Carbohydrates: 45
- Fiber: 2
- Protein: 6
Keywords: banana pudding, summer dessert, easy dessert, party dessert, homemade pudding, vanilla wafers, creamy dessert, make-ahead dessert


