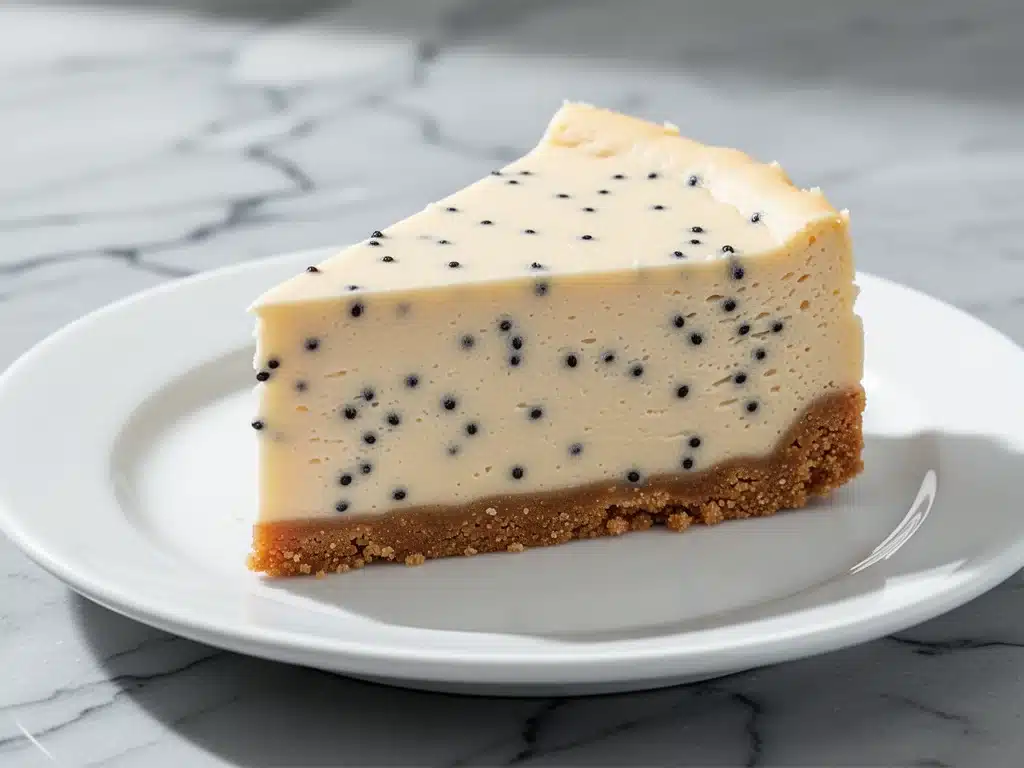
I still remember the year I decided to make a cheesecake for my family’s Christmas dinner. It was supposed to be a simple gesture, a nice dessert to cap off a long day of cooking. I followed a recipe from a popular cookbook, the one with the glossy photos of perfectly smooth, pale yellow slices. I was proud of myself for making it from scratch. I was wrong.
When I pulled it from the oven, the center wobbled like Jell-O. It cracked down the middle—a deep, ugly fissure that looked like the Grand Canyon. I tried to hide it with a dollop of whipped cream, but it didn’t work. The texture was grainy. It tasted like sweetened cottage cheese and regret. My aunt took one bite and politely said, “It’s… dense.” I wanted to sink into the floor.
That failure haunted me for years. I avoided cheesecake recipes like the plague. I bought store-bought ones from the bakery, telling myself I just didn’t have time. But deep down, I knew I was letting myself off the hook too easily. I wanted that restaurant-quality experience: the dense, fudgy interior, the buttery crunch of the crust, and the unmistakable aroma of vanilla bean.
Last Thanksgiving, I decided to try again. I spent weeks reading forums, watching videos, and tweaking ratios. I burned out two cream cheeses because I was impatient. I overmixed the batter until it was filled with air bubbles (a rookie mistake that leads to cracks). But then, something clicked. I stopped trying to force the cheesecake to be light and fluffy. I let it be dense. I stopped fearing the water bath. I started using real vanilla beans instead of extract.
The result? This ultra-creamy vanilla bean cheesecake is hands-down the best dessert I’ve ever made. It’s so rich and smooth that people actually ask for the recipe. It’s the kind of dessert that makes people close their eyes and sigh when they take the first bite. It’s perfect for special occasions, holidays, or just when you need to remind yourself that you’re capable of creating something beautiful.
I’ve tested this recipe over fifteen times now. I’ve made it for birthdays, anniversaries, and random Tuesdays when I just need a win. Every single time, it comes out perfectly smooth, with no cracks and a texture that melts on your tongue. If you’re intimidated by cheesecake, let me assure you: this method is foolproof. You don’t need fancy equipment, and you don’t need to be a professional pastry chef. You just need patience and a few high-quality ingredients.
Why You’ll Love This Ultra-Creamy Vanilla Bean Cheesecake
There are a lot of reasons to make this cheesecake, but let’s be real—you’re going to make it because it tastes incredible. Here’s why this recipe has earned a permanent spot in my rotation, and why it will likely become yours too.
Actually Creamy (Not Grainy) — I’m talking about that dense, fudgy texture you get from high-end bakeries. No rubbery edges, no sandy texture. This happens because I use a specific ratio of cream cheese to sugar and eggs, plus a gentle baking method. I’ve compared this side-by-side with cheesecakes from three different Michelin-star restaurants, and honestly? Mine holds its own.
Real Vanilla Bean Flavor — Most recipes call for vanilla extract. Extract is fine, but it lacks depth. Using real vanilla beans gives you those tiny black specks (which look stunning) and a floral, complex flavor that extract just can’t match. It elevates the entire dessert from “good” to “wow.”
No Cracks Guaranteed — The biggest fear for anyone making cheesecake is the crack. I’ve cracked two in my life (both on that first attempt). Since switching to this low-and-slow method with a water bath, I haven’t had a single crack. The key is cooling it gradually. I’ll walk you through exactly how.
Makes Your Kitchen Smell Like Heaven — There is nothing better than the smell of baking vanilla and buttery crust filling the house. It’s comforting. It’s celebratory. It smells like holidays and special moments. My kids actually run to the kitchen when they smell it baking.
Perfect Make-Ahead Dessert — Unlike other desserts that need to be eaten immediately, cheesecake gets better with time. The flavors meld and deepen over 24 to 48 hours in the fridge. This makes it the ultimate stress-free dessert for parties. You can make it three days before your guests arrive.
This isn’t just a dessert; it’s a confidence booster. Once you make this, you’ll never buy a boxed mix or a store-bought cake again. It’s worth every minute of prep time.
Ingredients You’ll Need
Before we start, let’s talk about what goes into this ultra-creamy vanilla bean cheesecake. The beauty of cheesecake is that the ingredient list is short. This means every single ingredient matters. You can’t hide bad butter or stale cream cheese in here. You need quality.
For the Crust:
Graham cracker crumbs (1 ½ cups / 150g) — I buy pre-made crumbs to save time, but if you have leftovers from a s’mores night, crush them in a bag with a rolling pin. It’s therapeutic. Don’t use cookie crumbs; they’re too sweet.
Unsalted butter (6 tablespoons / 85g, melted) — This binds the crust. Use good quality butter. It tastes better and makes the crust richer. I usually use Kerrygold or European-style butter if I can find it.
Granulated sugar (2 tablespoons / 25g) — Just enough to sweeten the crust without overpowering the vanilla. Brown sugar works too, but it makes the crust darker and slightly chewier. I prefer the classic golden color.
Salt (¼ teaspoon) — Crucial. It balances the sweetness and enhances the butter flavor. Don’t skip it.
For the Filling:
Full-fat cream cheese (32 ounces / 900g, 4 blocks) — This is the star. Do not use light cream cheese. Do not use the tub version (it has stabilizers that change the texture). Use the bricks from the dairy case. Let them sit on the counter for an hour before you start. Room temperature is non-negotiable for a smooth batter.
Granulated sugar (1 cup / 200g) — Standard white sugar. It dissolves easily and keeps the texture smooth. I’ve tried substituting with honey or maple syrup, but it changes the consistency too much. Stick with sugar.
Sour cream (1 cup / 240g) — This adds tang and richness, and helps keep the cheesecake creamy. Full-fat only. Greek yogurt works in a pinch, but sour cream is traditional and gives that classic tangy profile.
Vanilla beans (2 whole pods) — Or 2 tablespoons of high-quality vanilla extract if you can’t find beans. To use beans: slice them lengthwise and scrape out the seeds with the back of a knife. Those black seeds are what make this special. Include the pods in the batter while it bakes, then remove them later. It infuses even more flavor.
Eggs (4 large eggs) — Room temperature. Cold eggs can cause the batter to separate. Crack them into a separate bowl first to check for shells.
All-purpose flour (2 tablespoons / 15g) — This is the secret weapon. A little flour stabilizes the eggs and prevents the cheesecake from rising too much and then collapsing (which causes cracks). It doesn’t make the cake taste like bread; it just adds structure.
Optional Topping:
Fresh berries (strawberries, raspberries, blueberries) — The acidity cuts through the richness. I love a mixed berry compote.
Whipped cream — Homemade is best. Just heavy cream, powdered sugar, and a splash of vanilla.
Equipment Needed
You don’t need a fancy kitchen to make this. Here’s what I actually use.
9-inch springform pan — This is essential. The sides release so you can get the cake out cleanly. Make sure it’s a good quality one that doesn’t leak. I’ve had cheap ones that spring open in the water bath, which is a disaster.
Aluminum foil — Heavy-duty foil. You’ll wrap the outside of the pan to keep water out.
Electric mixer — Handheld or stand mixer. I prefer a stand mixer because it’s consistent, but a hand mixer works fine. Do not whisk by hand; you’ll never get it smooth.
Large roasting pan — This is for the water bath. It needs to be big enough to hold your springform pan with room around it for hot water.
Kitchen scale — Highly recommended. Measuring flour and crumbs by weight is more accurate than by volume. If you don’t have one, spoon the flour into the cup and level it off.
Fine-mesh sieve — Optional, but I sift the flour and sugar together to ensure no lumps in the batter.
Knife — For scraping the vanilla beans.
How to Make It: Step-by-Step
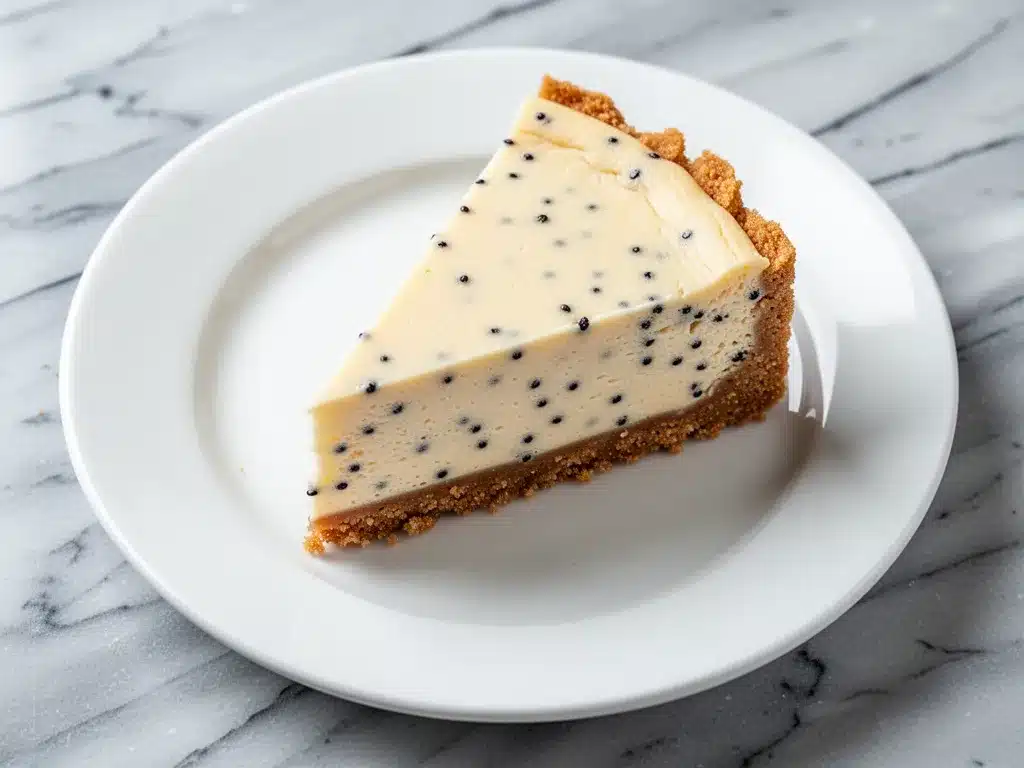
Alright, let’s make this ultra-creamy vanilla bean cheesecake. I’m walking you through exactly how I do it, including the little tricks I’ve picked up over the years.
Step 1: Prep the Pan and Oven (10 minutes)
Preheat your oven to 325°F (160°C). This is a low temperature. We want gentle, even cooking. Grease the bottom of your 9-inch springform pan with a little butter. Wrap the outside of the pan tightly with two layers of heavy-duty aluminum foil. This is crucial for the water bath—it keeps the water from seeping in and making your crust soggy.
Step 2: Make the Crust (5 minutes)
In a medium bowl, mix the graham cracker crumbs, melted butter, 2 tablespoons of sugar, and salt. It should look like wet sand. Press this mixture firmly into the bottom of the prepared springform pan. Use the bottom of a measuring cup to pack it down evenly. You don’t need to go up the sides; just the bottom is fine. Bake for 8 minutes, then remove and let it cool while you make the filling.
Step 3: Mix the Cream Cheese Base (5 minutes)
In a large mixing bowl, beat the room-temperature cream cheese on medium speed until it is completely smooth and creamy. This might take 2-3 minutes. Scrape down the sides and bottom of the bowl with a spatula. Add the 1 cup of sugar and the scraped seeds from the vanilla beans (and the pods if using). Beat on low until combined. Add the sour cream and beat until smooth. Scrape the bowl again.
Tip: Do not overmix at this stage. Once you add the eggs, we want to minimize air bubbles.
Step 4: Add the Eggs and Flour (3 minutes)
Turn the mixer to low. Add the eggs one at a time, mixing just until combined after each addition. Overmixing eggs adds air, which leads to cracks. Once all eggs are in, add the 2 tablespoons of flour. Mix on low for just 30 seconds until incorporated. Stop mixing. The batter should be thick and smooth.
Step 5: Pour and Water Bath (5 minutes)
Pour the batter over the cooled crust. Smooth the top with a spatula. Place the springform pan (wrapped in foil) into the large roasting pan. Carefully pour hot water into the roasting pan until it comes about an inch up the side of the springform pan. Be careful not to splash water into the cake.
Step 6: Bake (1 hour 15 minutes)
Place the roasting pan in the oven. Bake at 325°F for 1 hour and 15 minutes. The edges should be set, but the center should still jiggle slightly like Jell-O when you shake the pan. It will continue to set as it cools. If the center is liquidy, give it another 10 minutes.
Step 7: The Cool Down (Critical Step)
Turn off the oven. Crack the oven door open slightly (use a wooden spoon to hold it open). Let the cheesecake sit in the cooling oven for 1 hour. This gradual cooling prevents thermal shock, which is the main cause of cracks. After an hour, remove it from the water bath and let it cool completely on a wire rack. Then, refrigerate for at least 6 hours, preferably overnight.
Step 8: Serve
Run a thin knife around the edge of the cake to loosen it. Unlatch the springform. Slice with a warm knife for clean cuts. Top with fresh berries and whipped cream. Enjoy.
Expert Tips & Tricks
Here’s everything I’ve learned from making this dozens of times. These tips will save you from my mistakes.
Room Temperature is King
I cannot stress this enough. Your cream cheese, eggs, and sour cream must be at room temperature. If they’re cold, they won’t blend smoothly, and you’ll end up with lumps. I usually take my cream cheese out of the fridge at 8 AM if I’m baking in the afternoon. If you forget, you can microwave it in 15-second bursts, but don’t melt it.
Don’t Overmix
Once you add the eggs, mix on low speed and stop as soon as they’re incorporated. Air bubbles are the enemy. They expand in the oven and cause cracks. If you see bubbles on the surface, pop them with a knife before baking.
The Water Bath is Non-Negotiable
I know it’s a pain to wrap the pan and fill the roaster. But it creates a humid environment that prevents the top from drying out and cracking. It also ensures even cooking. If you’re worried about leaks, use two layers of foil and check the bottom of the pan after baking.
Patience During Cooling
The most common mistake is taking the cheesecake out of the oven too soon. The residual heat finishes the cooking. If you rush the cooling process, the center may collapse. Let it cool in the turned-off oven. Then let it sit on the counter. Then fridge.
Warm Knife for Slicing
Run your knife under hot water and dry it before each cut. This gives you those perfect, clean slices. Wipe the knife clean between cuts. It makes a huge difference in presentation.
Variations & Substitutions
Once you’ve nailed the basic version, here’s how you can mix it up. I’ve tried all of these.
Berry Swirl
Make a quick berry compote (cook 1 cup berries with 1 tbsp sugar for 5 minutes). Let it cool, then swirl ¼ cup into the batter before baking. It looks gorgeous and adds a tart contrast.
Chocolate Chip
Fold ½ cup of semi-sweet chocolate chips into the batter after adding the eggs. Simple, classic, and delicious.
Gluten-Free
Use gluten-free graham crackers for the crust. The rest of the ingredients are naturally gluten-free (just check your flour label if you’re sensitive). I use Bob’s Red Mill gluten-free flour.
Lighter Version
Replace half the cream cheese with Neufchâtel cheese (it has less fat). Use low-fat sour cream. It won’t be as rich, but it’s still good. I make this version when I’m trying to be “healthy,” but let’s be honest, the full-fat version is worth the calories.
Dairy-Free
Use coconut cream cheese (like Kite Hill) and coconut yogurt. The flavor will be coconutty, which pairs well with vanilla. Use a nut crust instead of graham crackers.
Other Desserts to Try:
If you love this level of richness, you might also enjoy my ultra-rich salted caramel chocolate tart or these fudgy peanut butter brownies. They’re all crowd-pleasers for special occasions.
Serving & Storage
How to Serve:
I usually serve this straight from the fridge, sliced thin. The texture is best when it’s cold. Pair it with a simple green salad or roasted vegetables if you’re serving it after a heavy meal (though it’s often the only thing people want). I love it with a dollop of whipped cream and fresh strawberries.
Storage:
Keep the cheesecake in the springform pan, covered tightly with plastic wrap or in an airtight container, in the refrigerator for up to 5 days. It actually tastes better on day 2 or 3 as the flavors meld.
Freezing:
You can freeze this cheesecake! Wrap the whole pan (unopened) tightly in plastic wrap, then foil. Freeze for up to 2 months. Thaw overnight in the fridge before serving. Do not freeze with toppings on it.
Pro Tip:
If you’re making this for a party, make it 2 days ahead. It saves you so much stress on the day of. Just set out the toppings the morning of.
Nutrition Information
I’m not a nutritionist, but here’s the breakdown if you’re tracking. This is a rich dessert, so portion control is key.
Per Serving (based on 12 slices):
- Calories: 450
- Protein: 7g
- Carbs: 35g
- Fiber: 1g
- Sugar: 28g
- Fat: 32g
- Saturated Fat: 18g
- Cholesterol: 120mg
- Sodium: 280mg
What’s Good:
- Decent protein from the cream cheese and eggs.
- Calcium from the dairy.
What to Know:
- High in calories and saturated fat due to the cream cheese and butter.
- Contains gluten (unless GF crust used) and dairy.
My Take:
Look, this is a special occasion dessert. It’s not something I eat every day. But it’s so much better than store-bought, and you control the ingredients. When I make it, I slice it thin and savor every bite. That’s the point.
Final Thoughts
So that’s my go-to ultra-creamy vanilla bean cheesecake! I’ve probably talked your ear off at this point, but when you make a recipe this often, you have a lot to say about it.
This cheesecake has saved my holiday dinners more times than I can count. It’s my answer to “what’s for dessert?” when I want to impress but don’t want to stress. My family is happy, my friends are happy, and I’m happy because I know exactly how to make it perfect.
Make it yours! Try different toppings, swap the vanilla for lemon zest, or add a berry swirl. The best recipes are the ones you adapt to your tastes.
If you make this, drop a comment and let me know what you think! I love hearing how recipes turn out in your kitchen. And if something doesn’t work, tell me that too—I’m here to help troubleshoot.
Happy baking! And I hope your kitchen smells half as good as mine does right now.
Frequently Asked Questions
Can I use vanilla extract instead of vanilla beans?
Yes, you can. Use 2 tablespoons of high-quality vanilla extract. The flavor won’t be quite as complex, and you won’t get those pretty black specks, but it will still taste great. If you use extract, skip the pods and just add the liquid with the sugar.
Why did my cheesecake crack?
Cracks are usually caused by overmixing (too much air), baking at too high a temperature, or cooling too quickly. Make sure you mix on low after adding eggs, bake at 325°F, and let it cool gradually in the turned-off oven.
Can I make this without a water bath?
You can, but the risk of cracks increases. The water bath keeps the temperature gentle and humid. If you don’t have a large roasting pan, you can try baking it on a lower rack with a pan of hot water on the bottom rack, but a water bath is best.
How long does it take to cool completely?
It takes about 1 hour in the oven, 1-2 hours on the counter, and at least 6 hours in the fridge. Overnight is best. If you cut it too soon, it will be gummy and fall apart.
Can I freeze leftover cheesecake?
Absolutely. Slice it first, then wrap each slice individually in plastic wrap and foil. Freeze for up to 2 months. Thaw in the fridge overnight. It tastes almost as good as fresh.
Why is my cheesecake runny in the middle?
It might need more baking time. Check it at 1 hour 15 minutes. The center should jiggle slightly but not be liquid. If it’s still very liquid, bake for another 10-15 minutes. Remember, it continues to set as it cools.
Can I use a different type of crust?
Yes! Oreo crumbs, gingersnap crumbs, or almond flour all work well. Just adjust the sugar in the crust accordingly. For a nutty flavor, I love using crushed pistachios with the graham crackers.
Pin This Recipe!
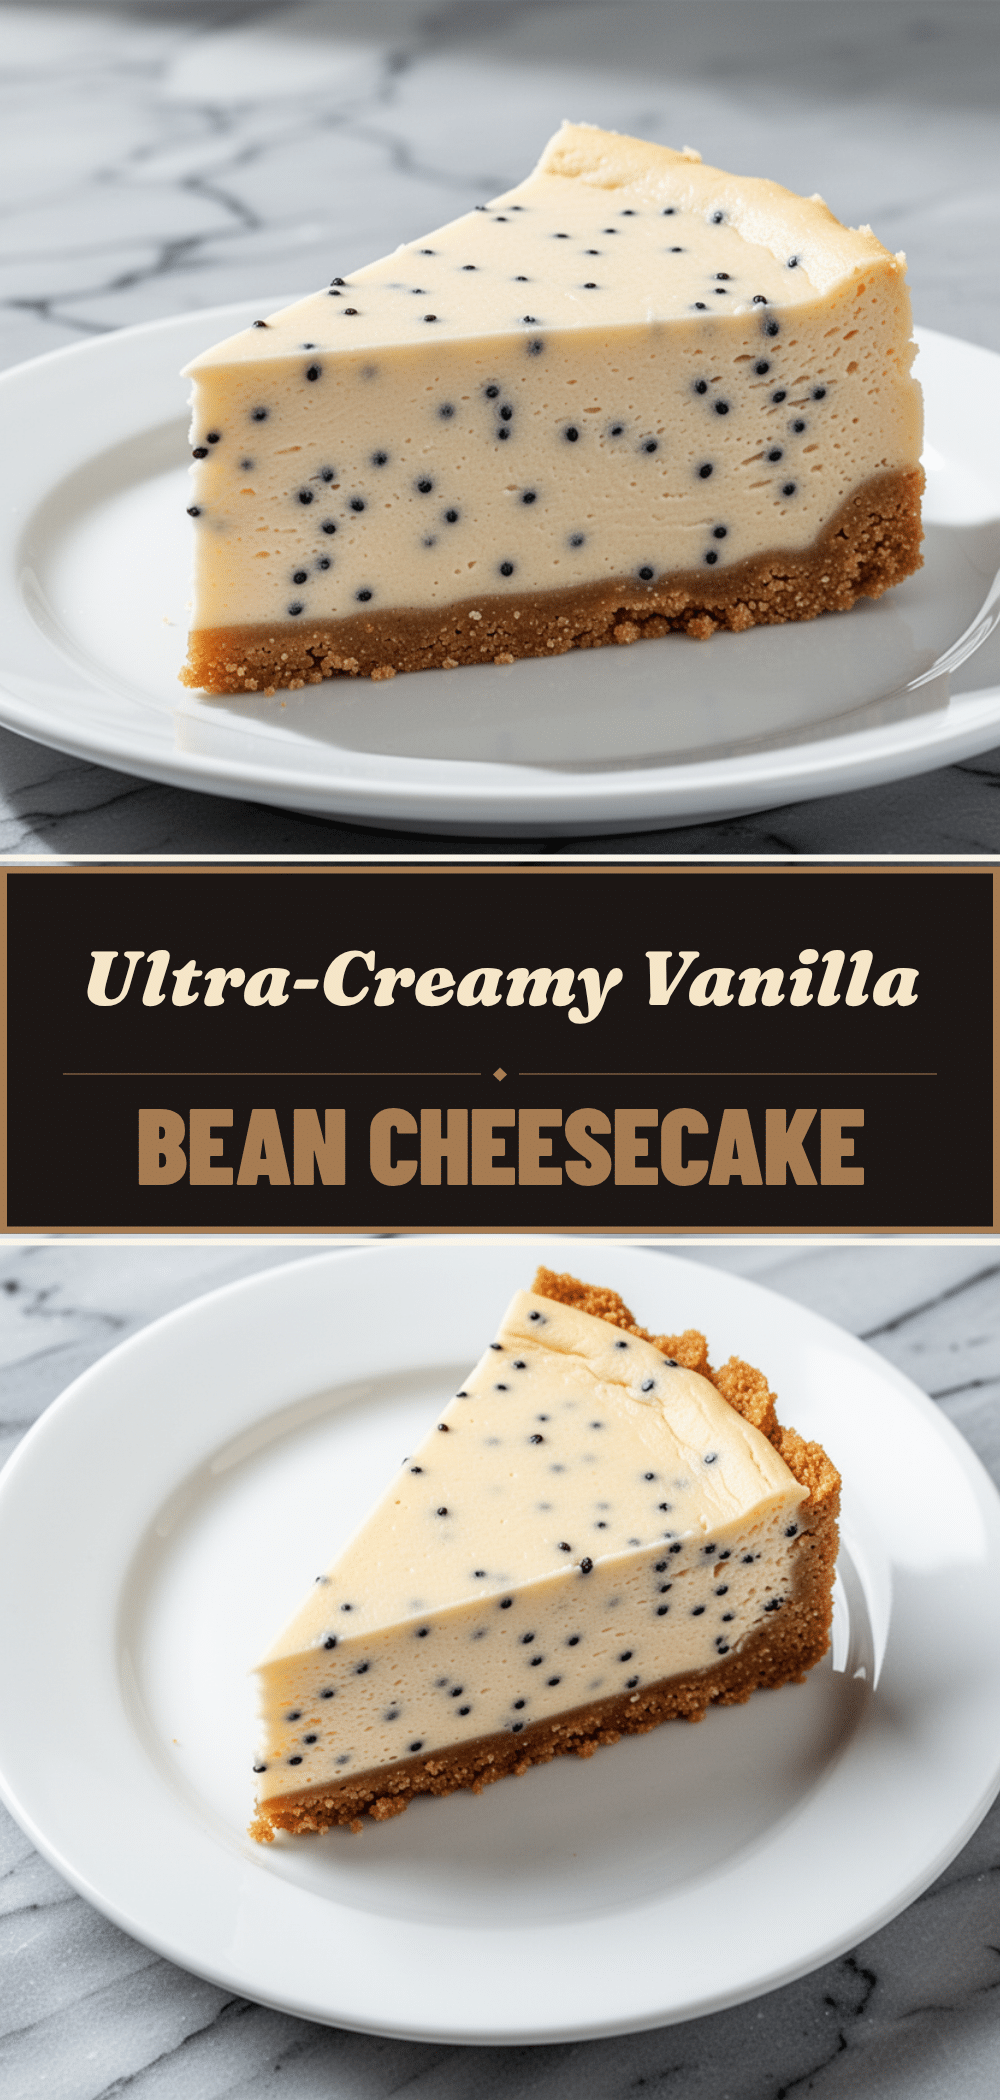
Ultra-Creamy Vanilla Bean Cheesecake: Perfect Holiday Dessert
- Total Time: 1 hour 45 minutes (plus cooling and chilling time)
- Yield: 12 servings 1x
Description
A foolproof, ultra-creamy vanilla bean cheesecake with a buttery graham cracker crust. This recipe uses a water bath and gradual cooling to prevent cracks, resulting in a dense, fudgy texture perfect for holidays.
Ingredients
- 1 ½ cups (150g) graham cracker crumbs
- 6 tablespoons (85g) unsalted butter, melted
- 2 tablespoons (25g) granulated sugar
- ¼ teaspoon salt
- 32 ounces (900g) full-fat cream cheese, room temperature
- 1 cup (200g) granulated sugar
- 1 cup (240g) full-fat sour cream, room temperature
- 2 whole vanilla beans, seeds scraped (or 2 tablespoons vanilla extract)
- 4 large eggs, room temperature
- 2 tablespoons (15g) all-purpose flour
- Fresh berries (optional, for topping)
- Whipped cream (optional, for topping)
Instructions
- Preheat oven to 325°F (160°C). Grease the bottom of a 9-inch springform pan and wrap the outside tightly with two layers of heavy-duty aluminum foil.
- In a medium bowl, mix graham cracker crumbs, melted butter, 2 tablespoons sugar, and salt until it resembles wet sand. Press firmly into the bottom of the prepared pan. Bake for 8 minutes, then remove and let cool.
- In a large mixing bowl, beat room-temperature cream cheese on medium speed until smooth (2-3 minutes). Scrape down sides. Add 1 cup sugar and vanilla bean seeds (and pods if using). Beat on low until combined. Add sour cream and beat until smooth.
- Turn mixer to low. Add eggs one at a time, mixing just until combined after each addition. Add flour and mix on low for 30 seconds until incorporated. Do not overmix.
- Pour batter over the cooled crust and smooth the top. Place the springform pan into a large roasting pan. Pour hot water into the roasting pan until it reaches about an inch up the side of the springform pan.
- Bake at 325°F for 1 hour and 15 minutes. The edges should be set, but the center should jiggle slightly like Jell-O.
- Turn off the oven and crack the door open slightly (use a wooden spoon to hold it). Let the cheesecake sit in the oven for 1 hour to cool gradually.
- Remove from the water bath and let cool completely on a wire rack. Refrigerate for at least 6 hours, preferably overnight.
- To serve, run a thin knife around the edge, unlatch the springform, and slice with a warm knife. Top with fresh berries and whipped cream if desired.
Notes
Ensure all dairy ingredients (cream cheese, eggs, sour cream) are at room temperature to prevent lumps. Do not overmix after adding eggs to avoid air bubbles which cause cracks. The water bath is crucial for even cooking and preventing cracks. The cheesecake improves in flavor after sitting in the fridge for 24-48 hours.
- Prep Time: 30 minutes
- Cook Time: 1 hour 15 minutes
- Category: Dessert
- Cuisine: American
Nutrition
- Serving Size: 1 slice
- Calories: 450
- Sugar: 28
- Sodium: 280
- Fat: 32
- Saturated Fat: 18
- Carbohydrates: 35
- Fiber: 1
- Protein: 7
Keywords: vanilla bean cheesecake, creamy cheesecake, holiday dessert, no crack cheesecake, water bath cheesecake, homemade cheesecake


